-
Created by Unknown User (jdunn), last modified on Aug 25, 2020
Logging into the app on a mobile device
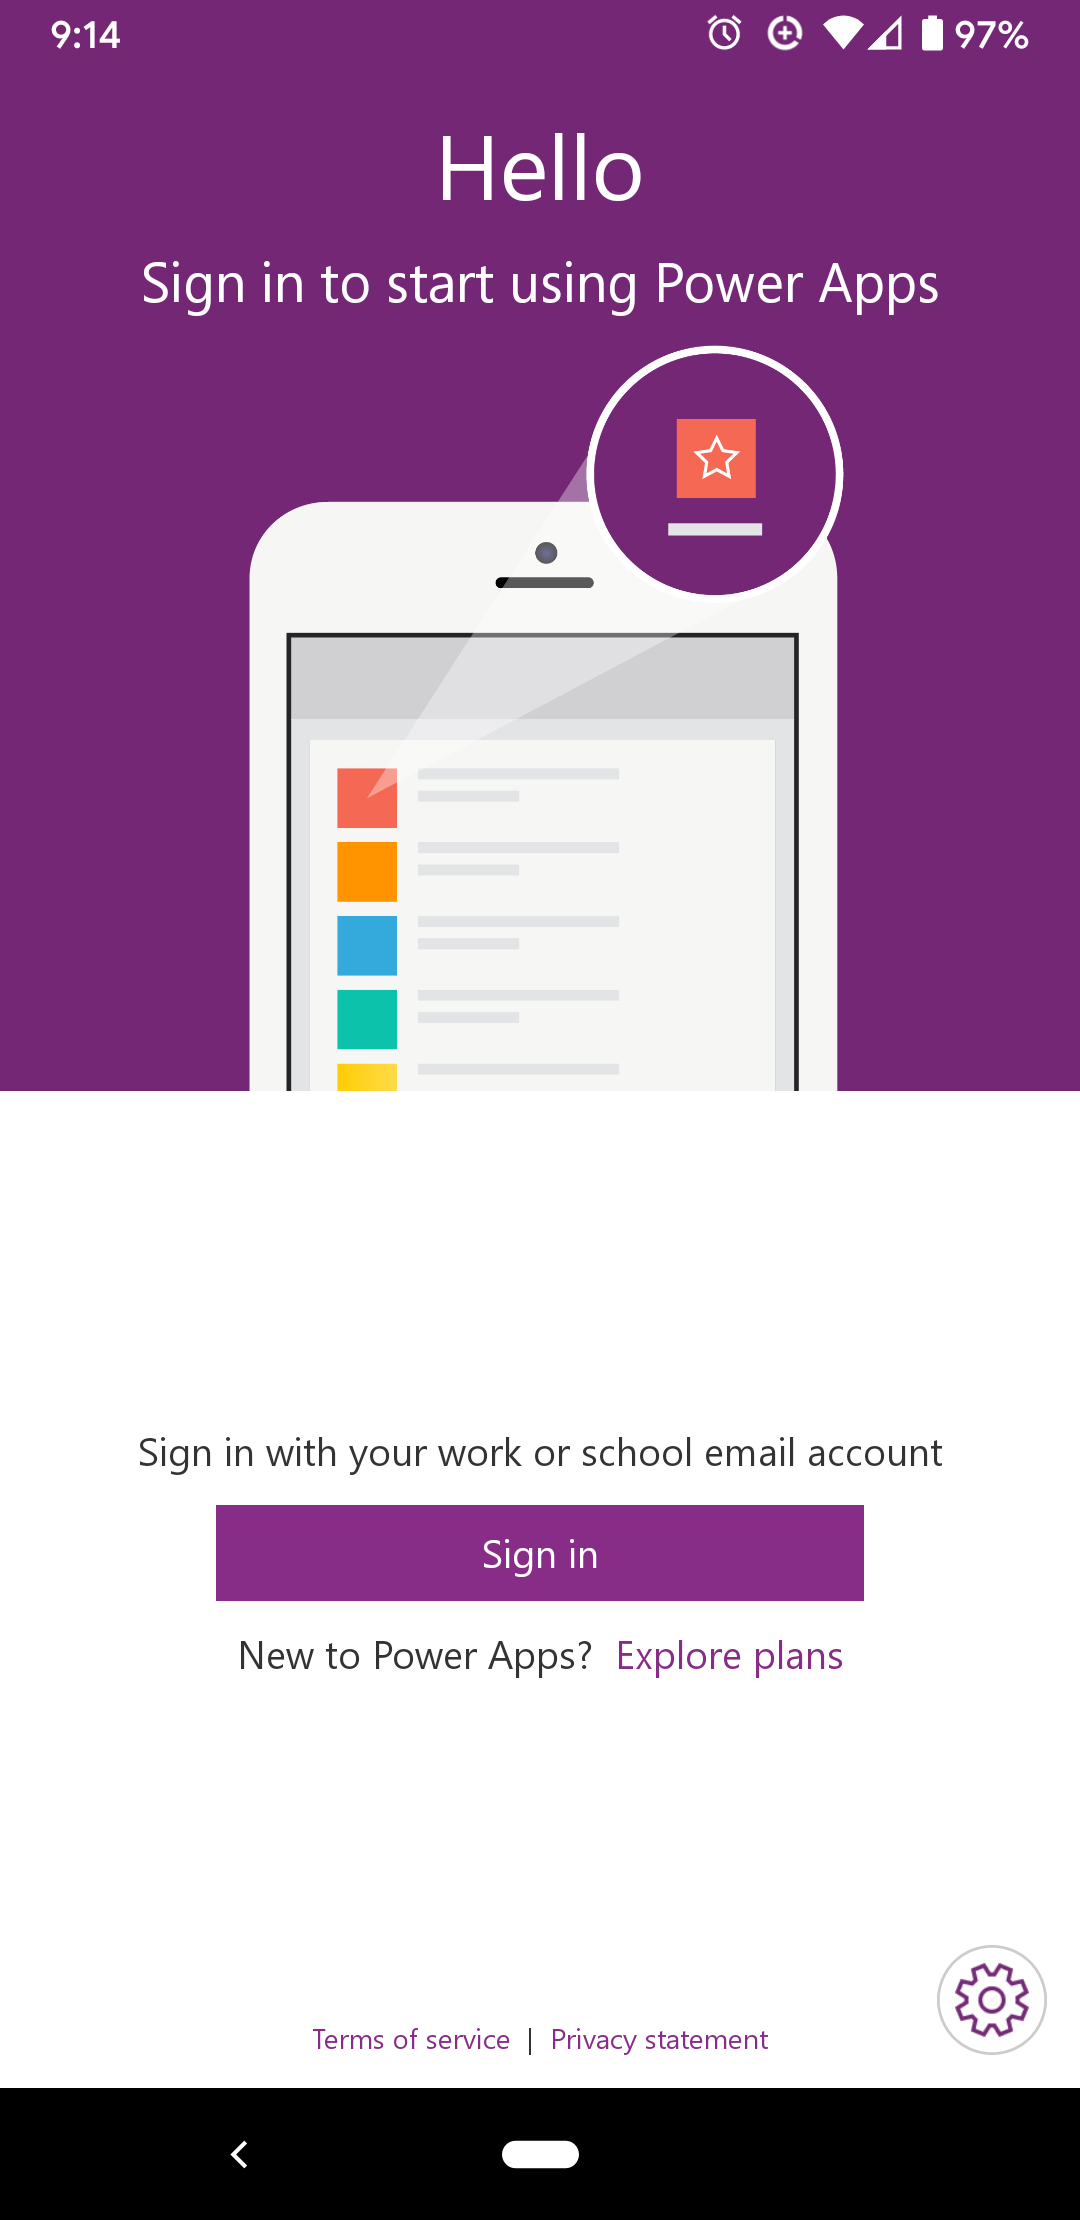
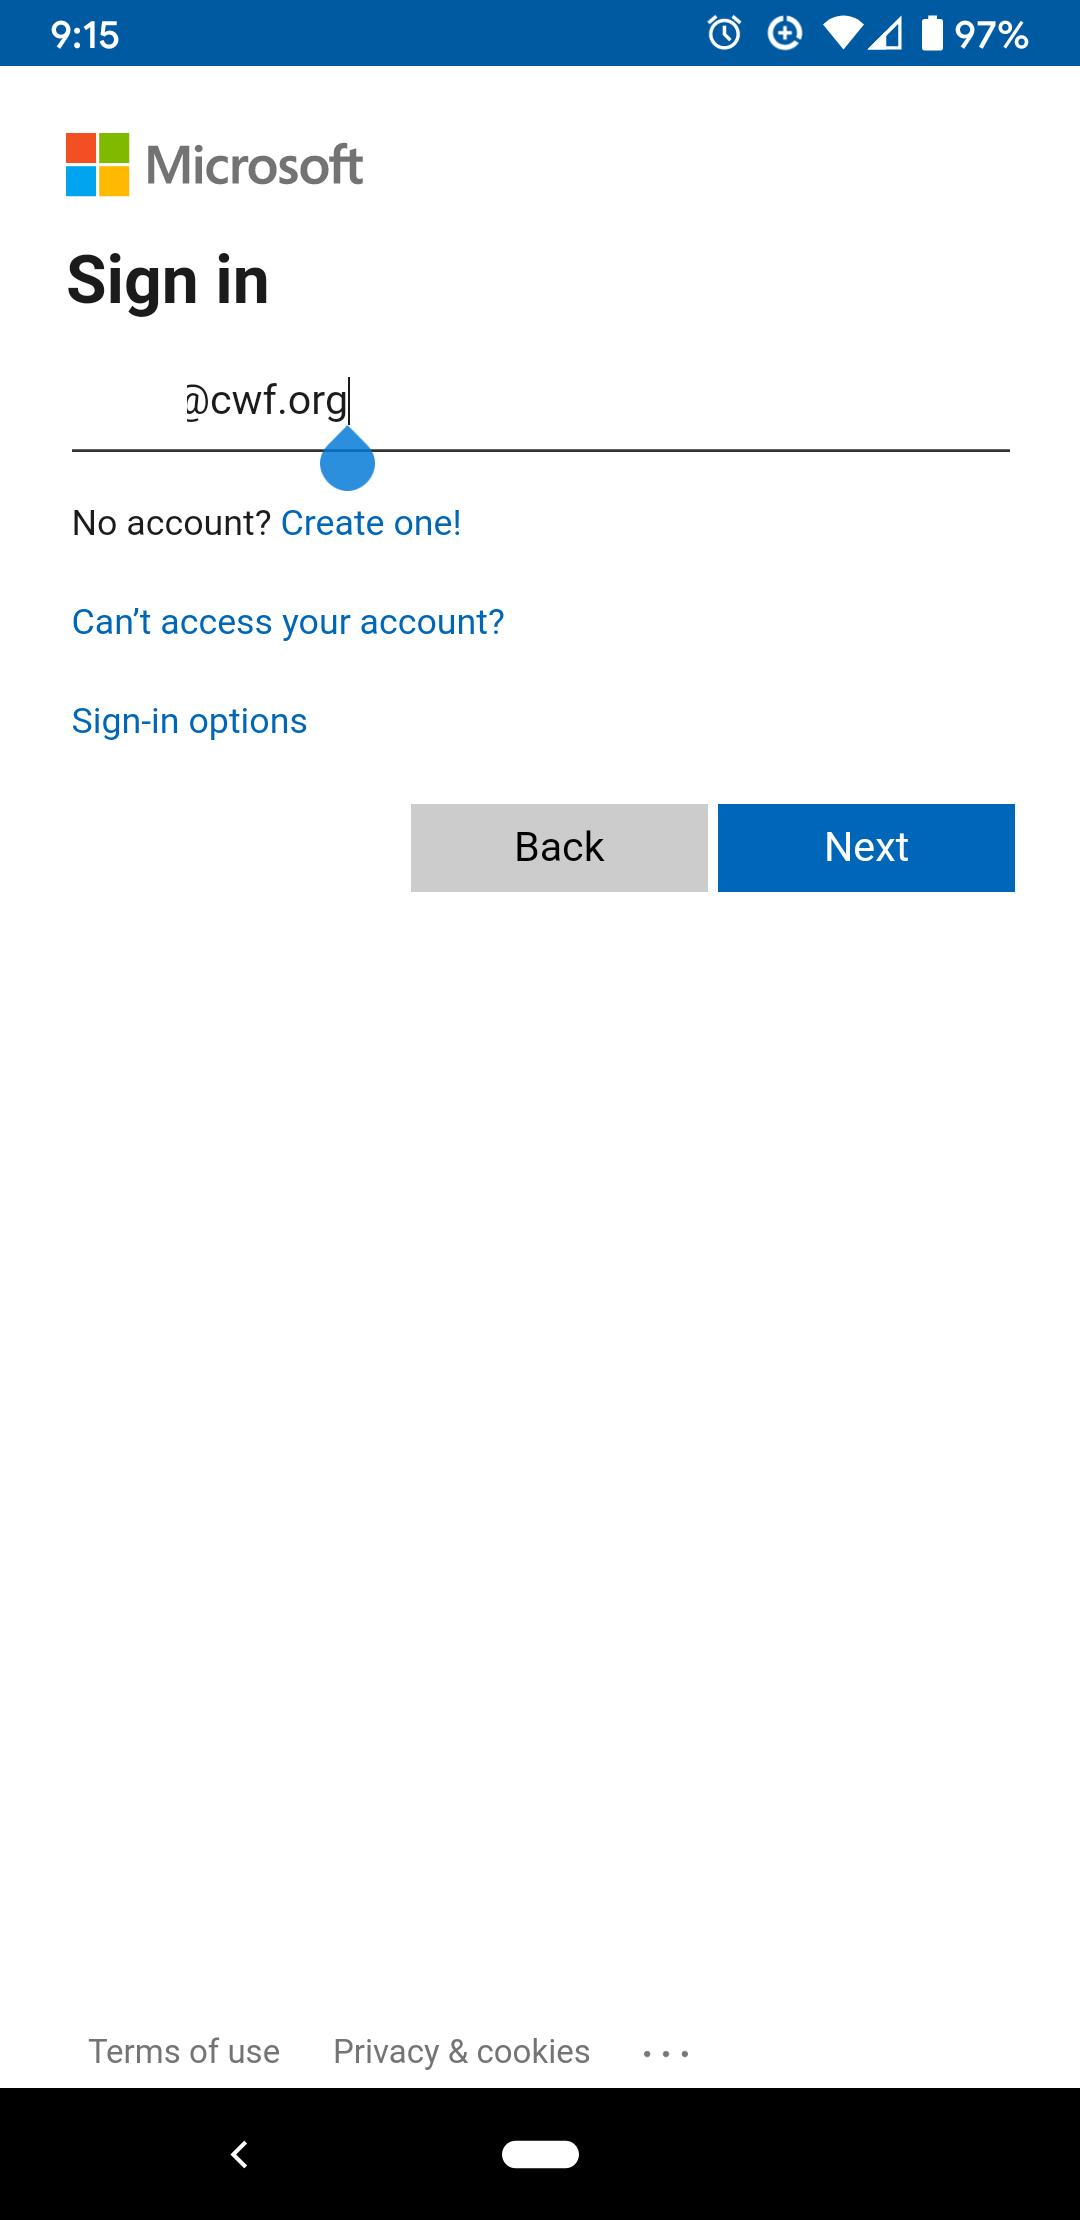
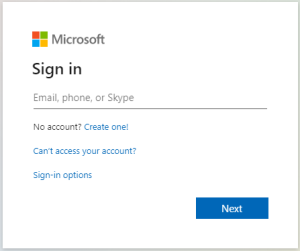
- Open Power Apps on your device. You will be asked to log in to your Microsoft account. If prompted to select between personal or work/school, select work/school. Use your work email address (xxx@cwf.org) as the account and the password to that account as your password.
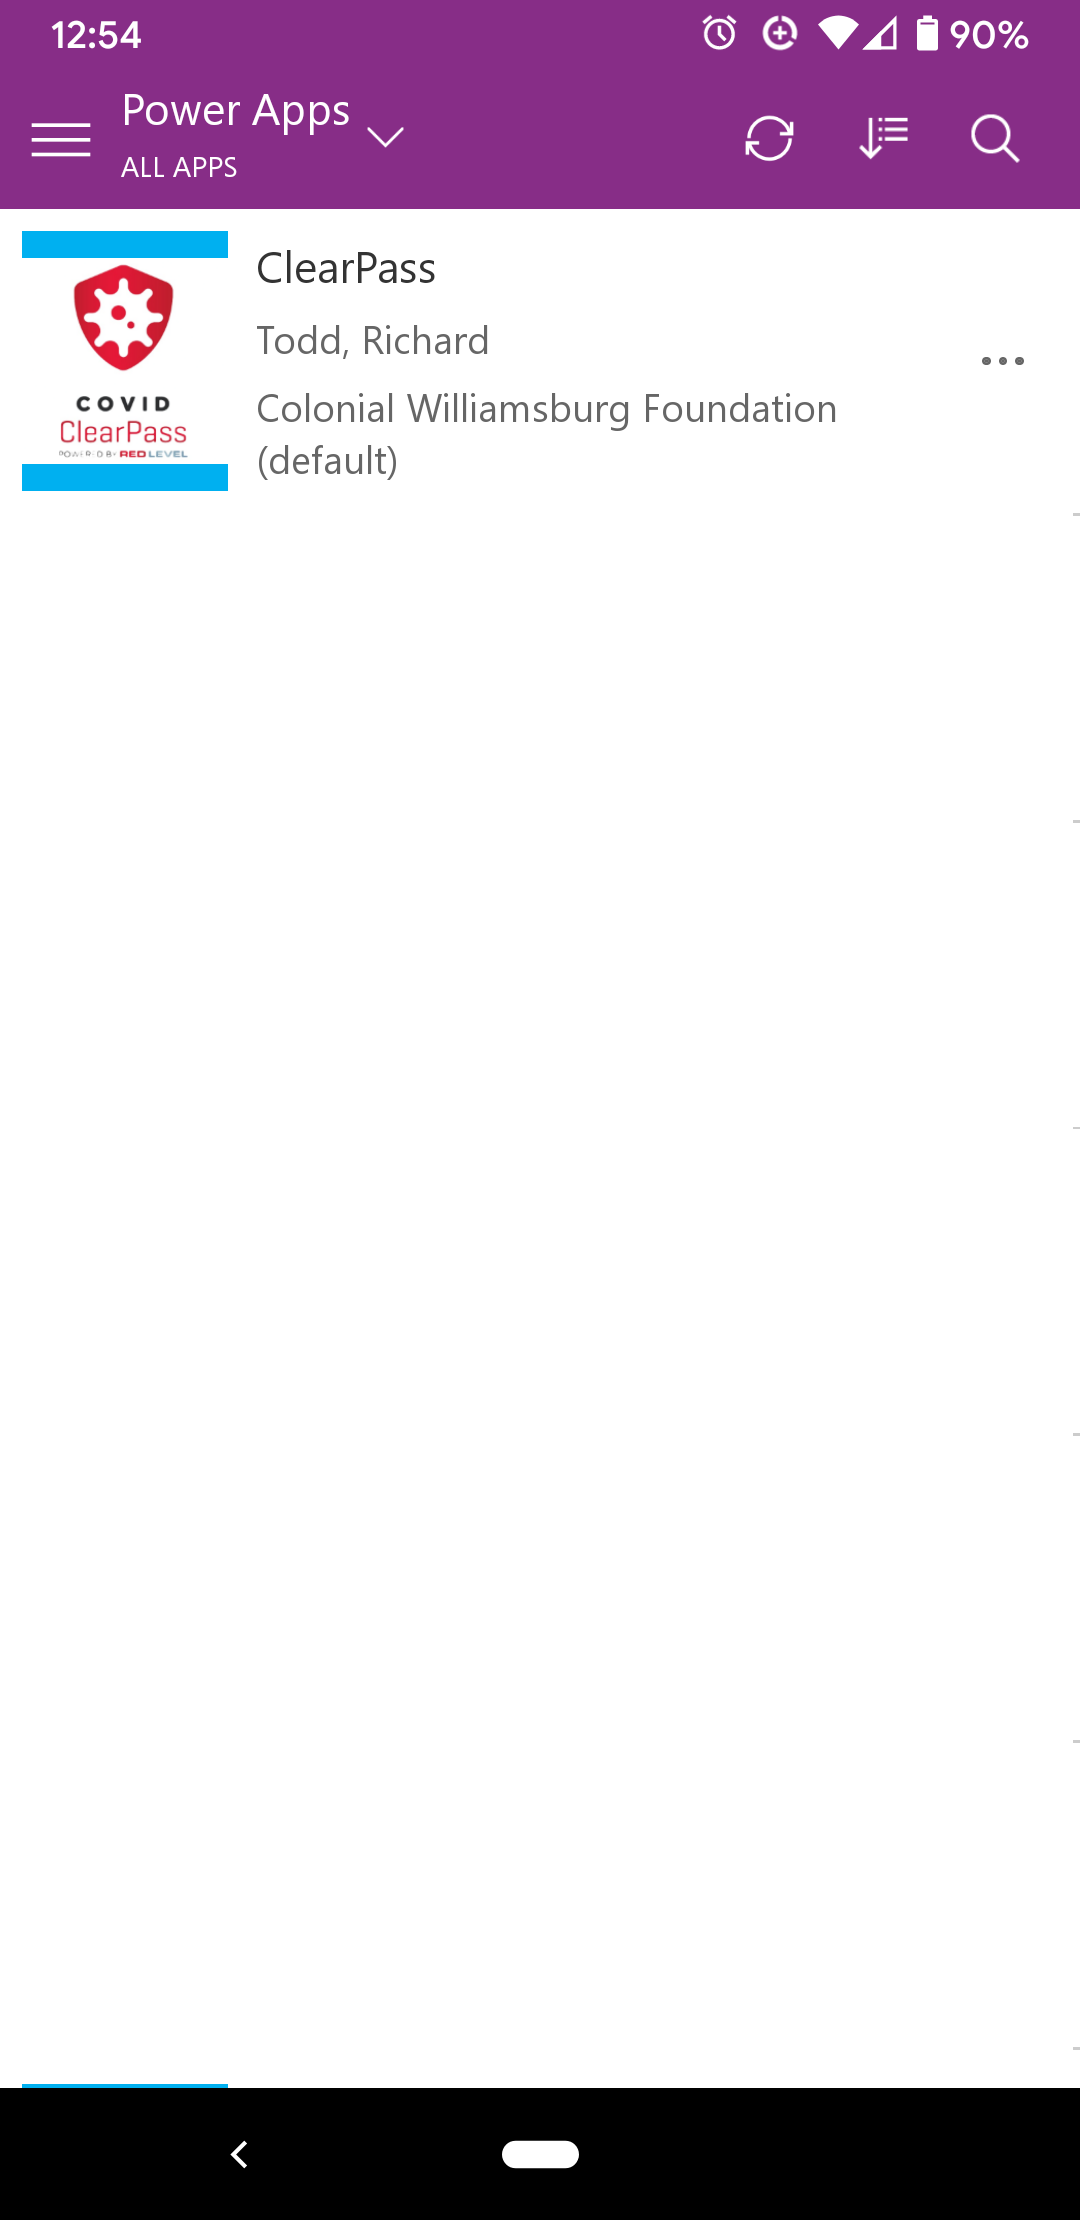
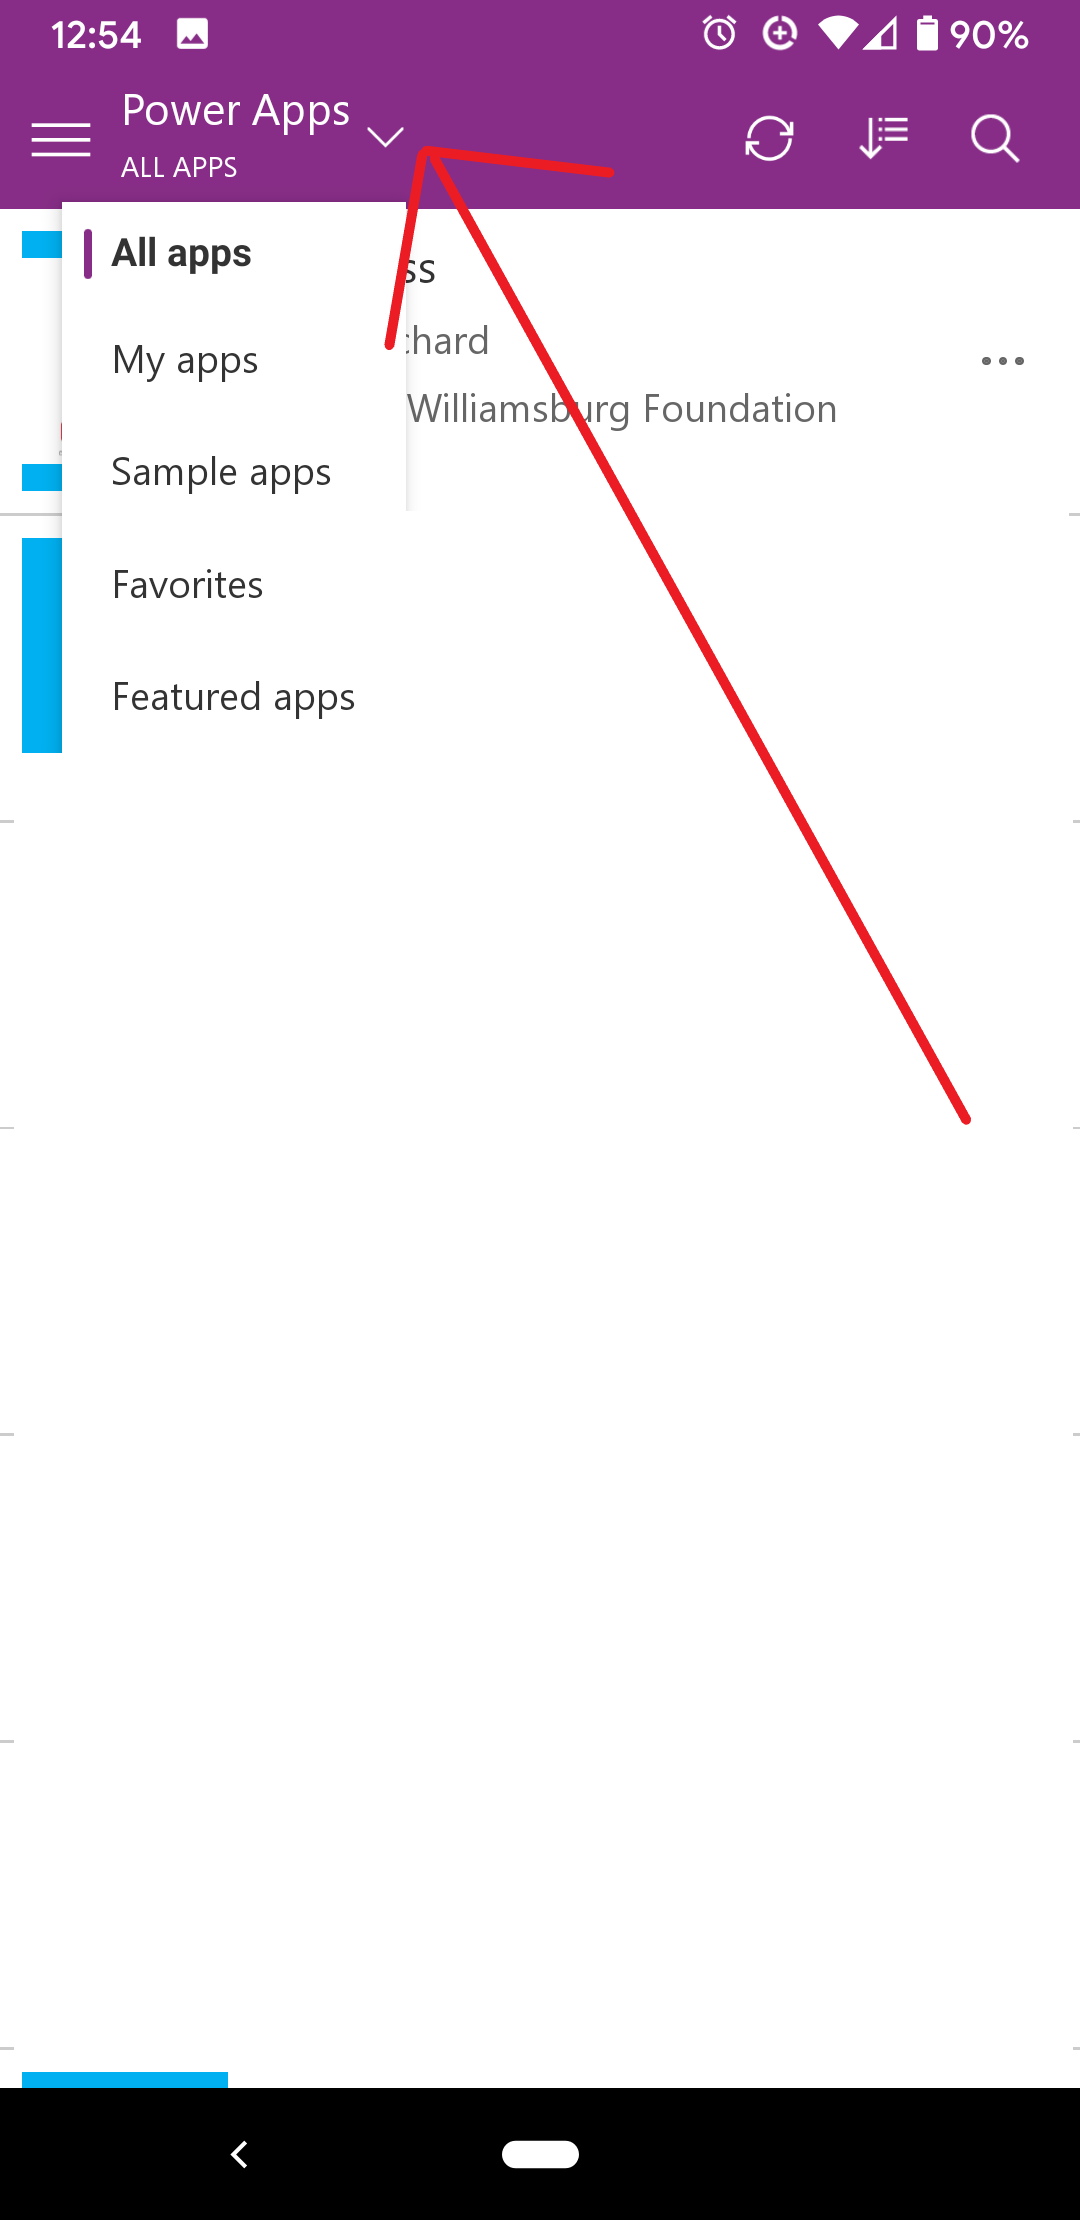
- Now that Power Apps is open and you're logged in, open the ClearPass app. If you don't see any apps at first, you'll have to change the view to All apps by tapping the small down arrow next to "Power Apps" in the top bar.
Logging into the app on a desktop
- Open a web browser (Chrome, Firefox, Edge).
- Go to portal.office.com.
- You'll be prompted to sign in, use your CW email account and password.
- If asked to choose between a personal or work/school account, pick work/school.
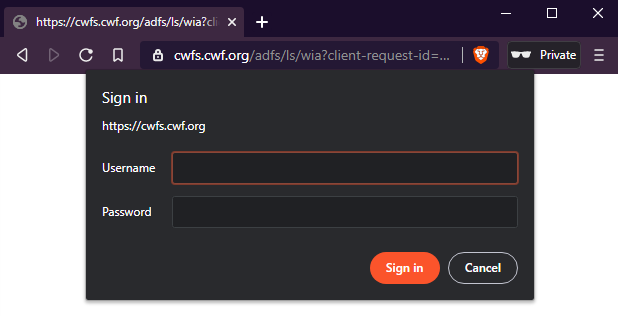
- Some browsers will pop up a second log in box from https://cwfs.cwf.org. If this happens, the username is your account alias (for example if my email address is xxx@cwf.org, my account alias is xxx) and the password is the same.
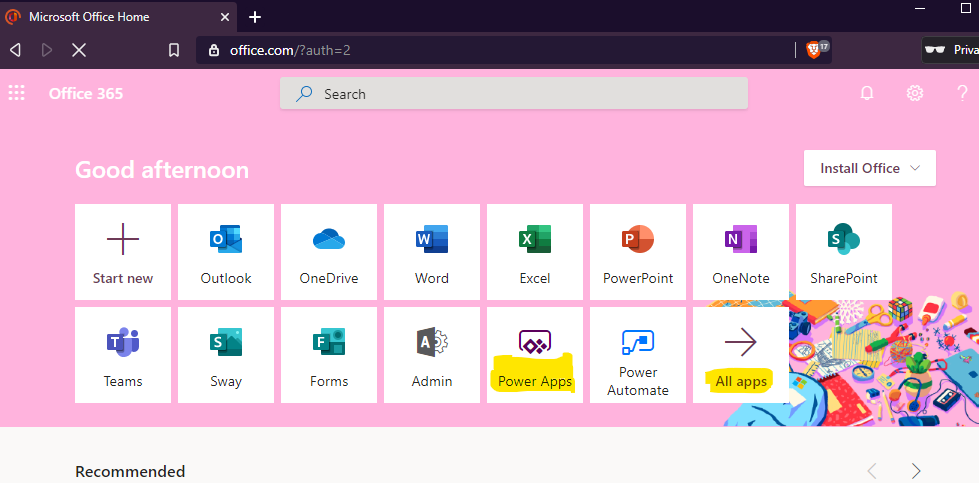
- Now you will be at the office main page, it will look like the screenshot below.
- If Power Apps is listed, click it.
- If Power Apps is not listed, click All apps, then locate Power Apps and click it.
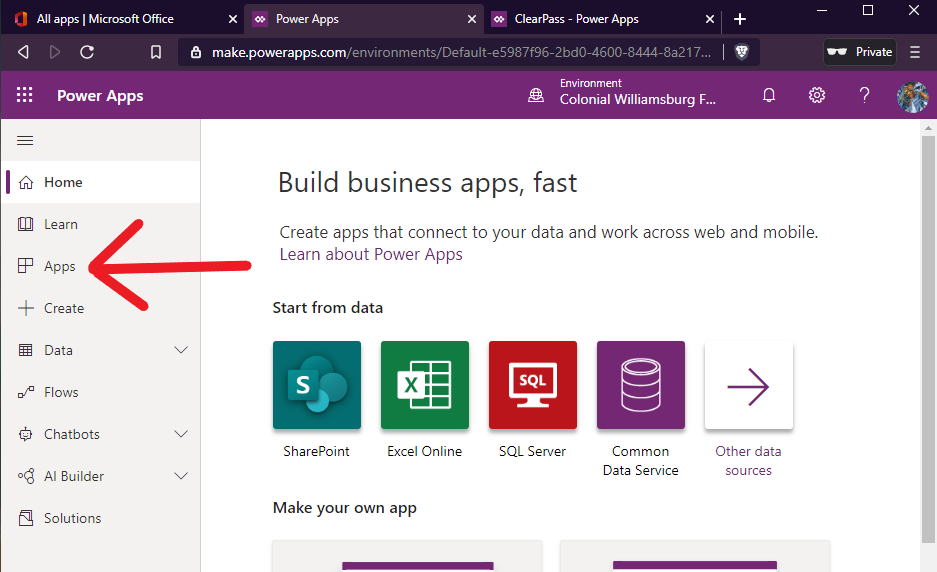
- A new tab will be opened for Power Apps and you'll be on the home screen. Click on Apps in the left vertical menu.
- On the Apps screen, an error message may be displayed if this is your first time coming here. Please give it a minute to realize you actually have apps if that happens.
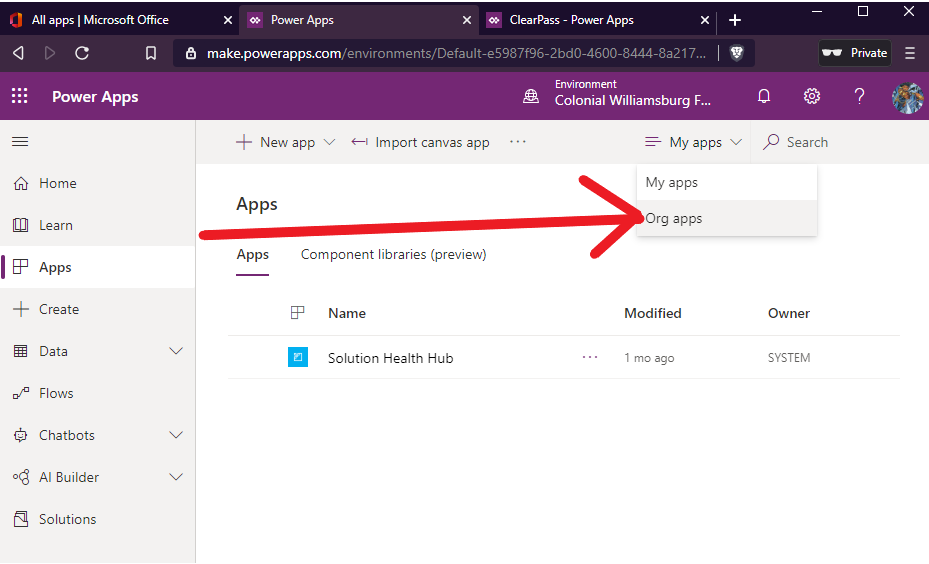
Once the page loads, you'll see a drop down on the right side of the page next to Search and it should currently say My apps. Click the drop down and then click Org apps.
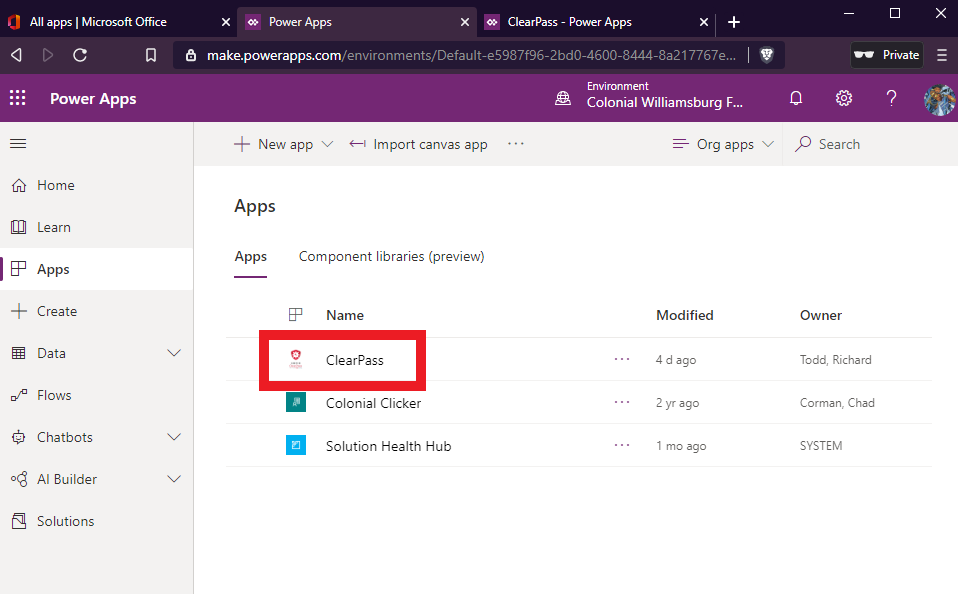
- You should be able to see an App titled ClearPass. Click on it.
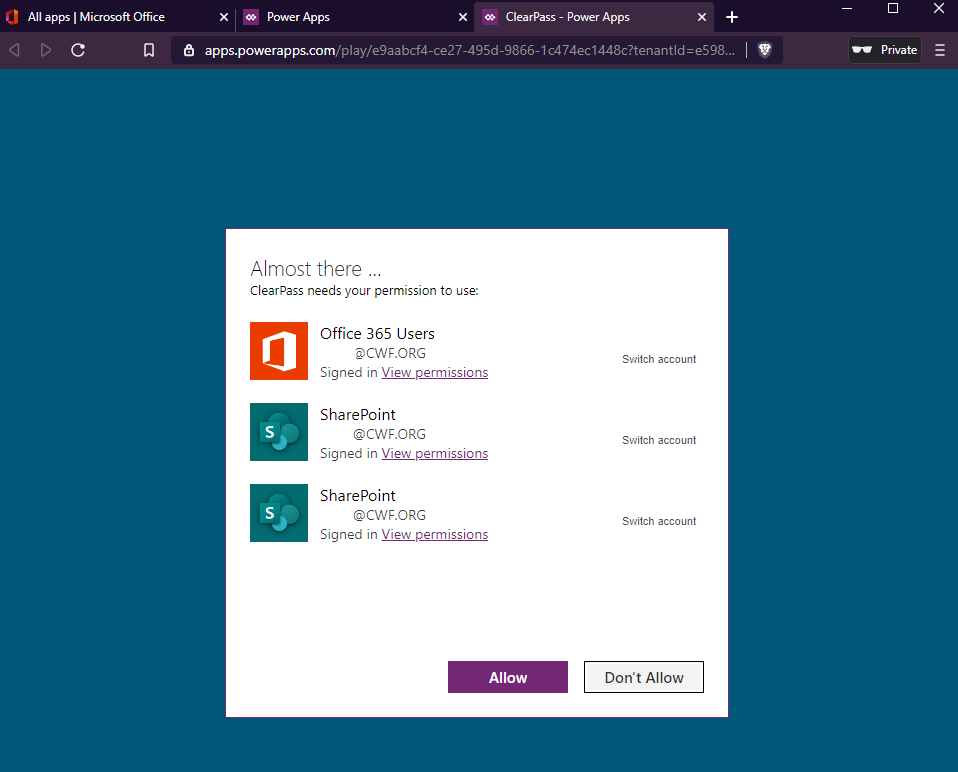
- The ClearPass app will request permission to Office 365 (so it knows who signed in) and SharePoint (to record who signed in). Click Allow to continue to the app.
Using the app for yourself
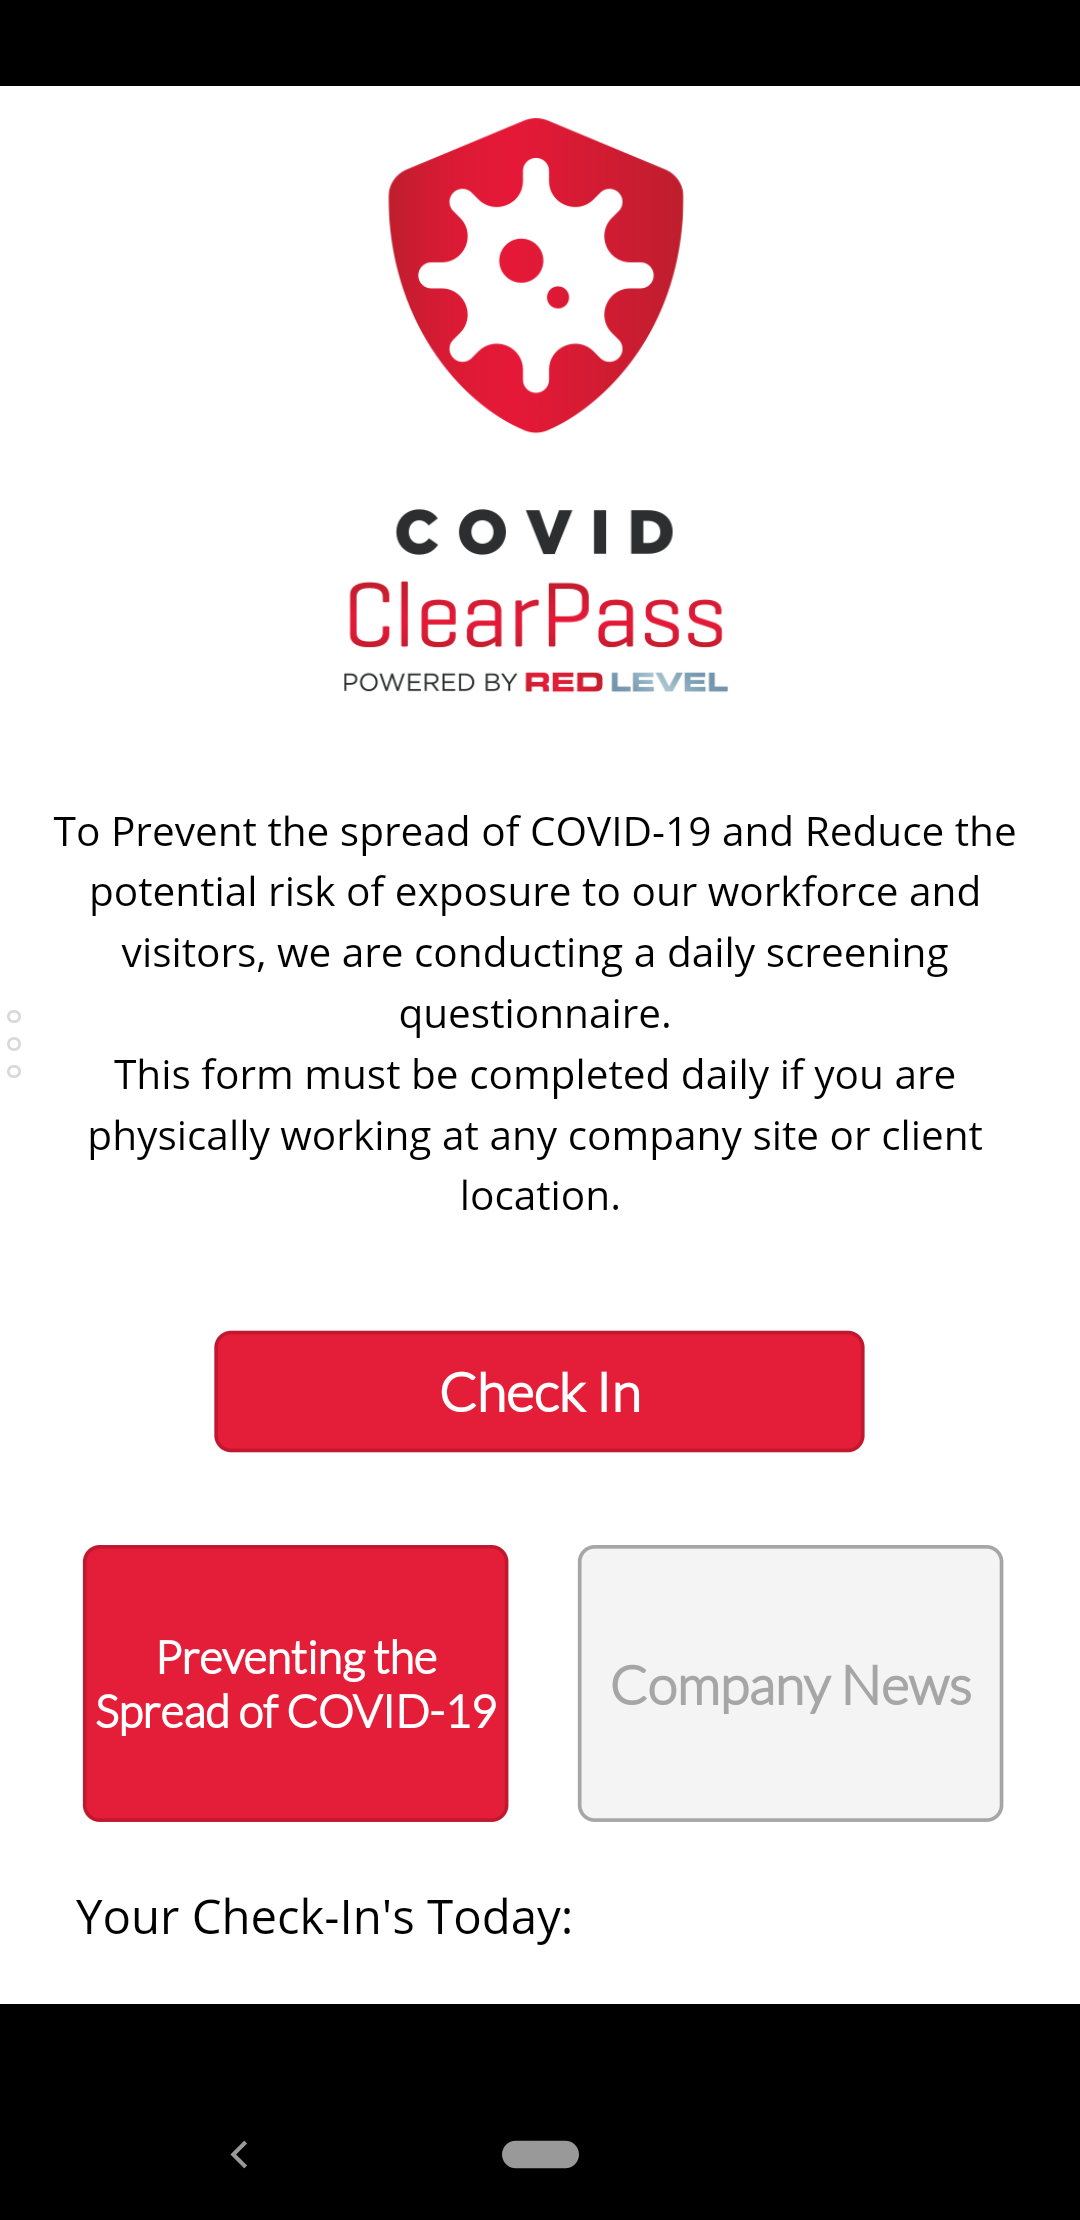
- Tap the ClearPass app to start it.
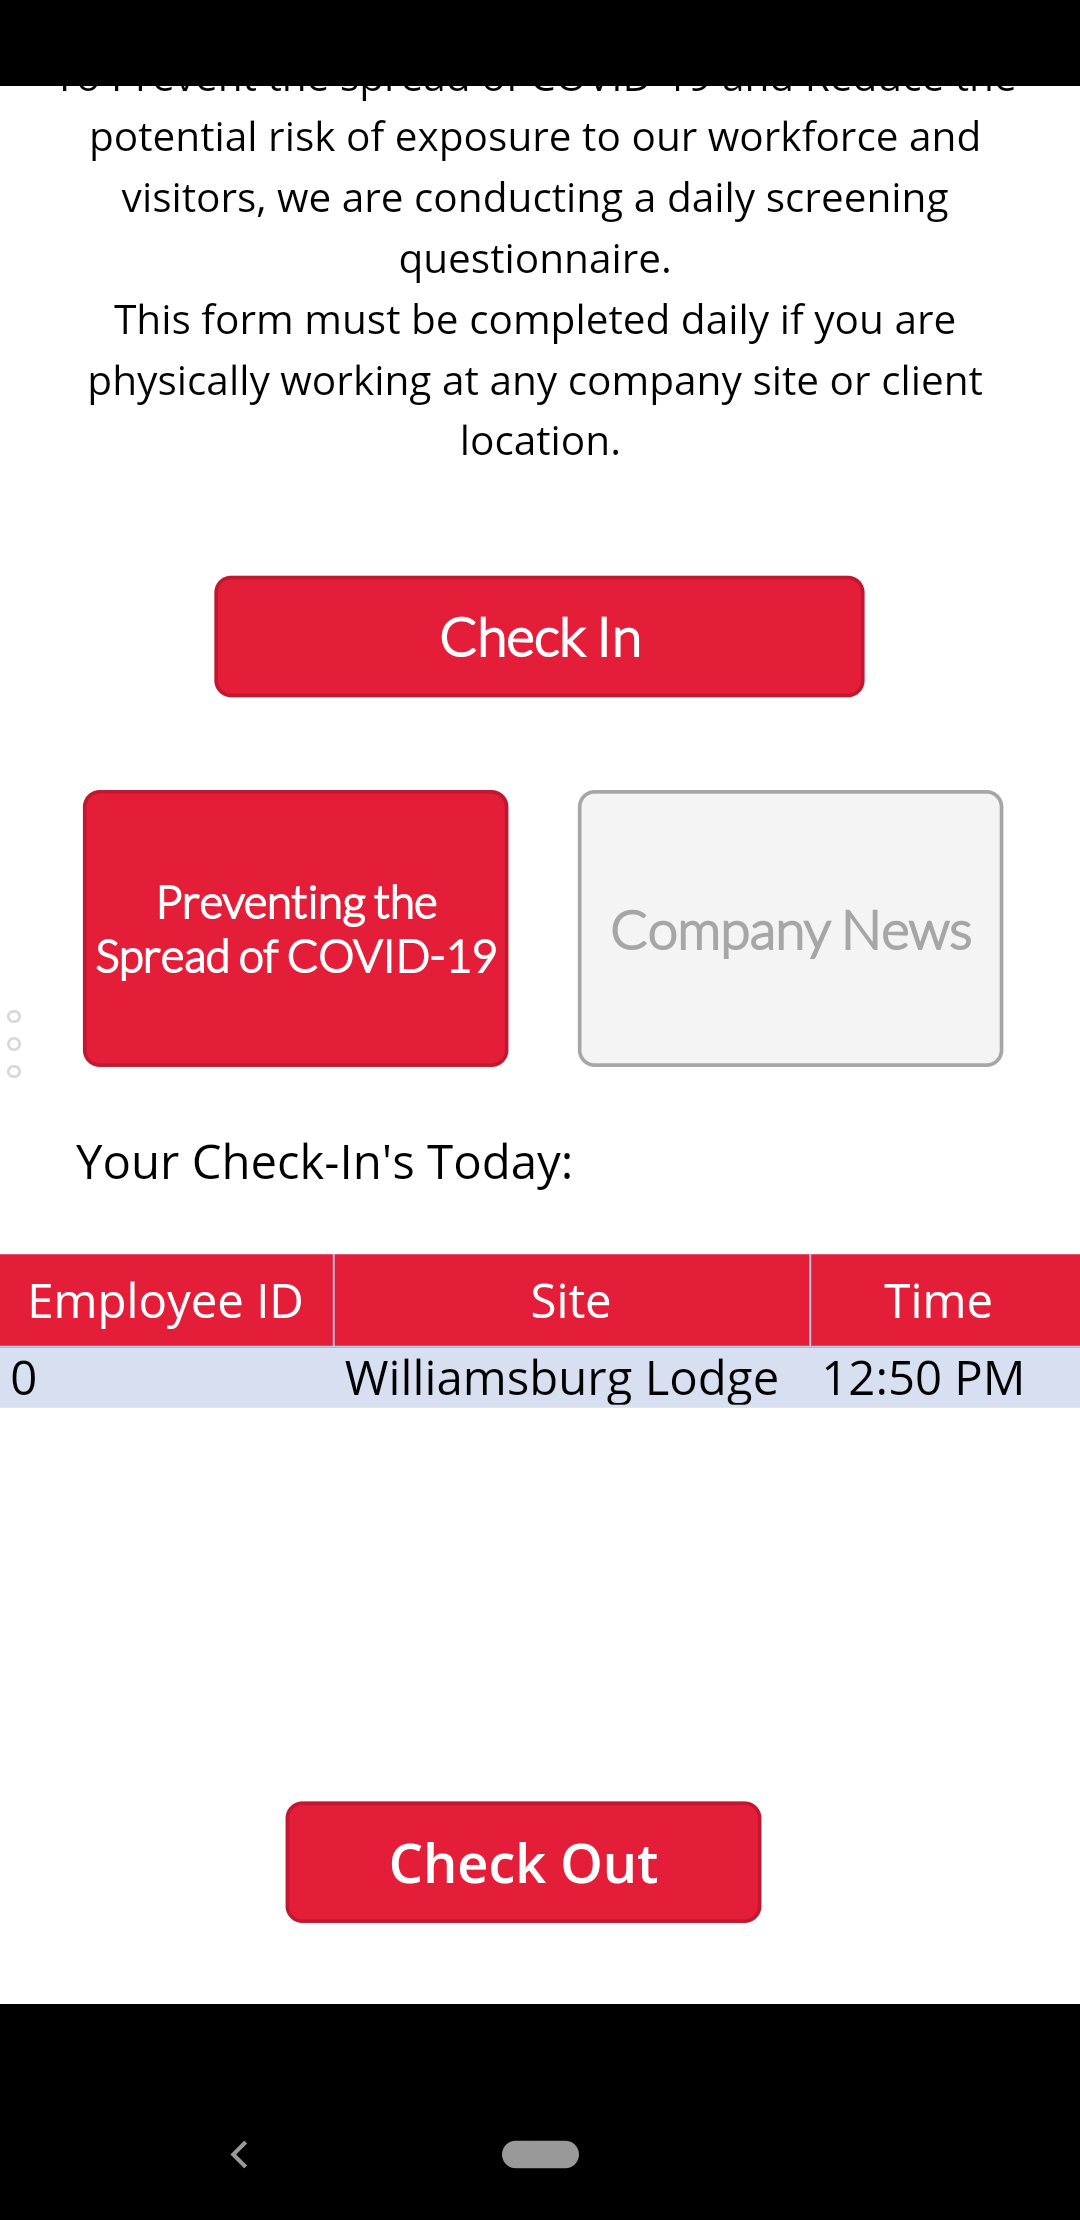
- After the app loads, you'll be at the main screen. To check-in to a location, tap Check In.
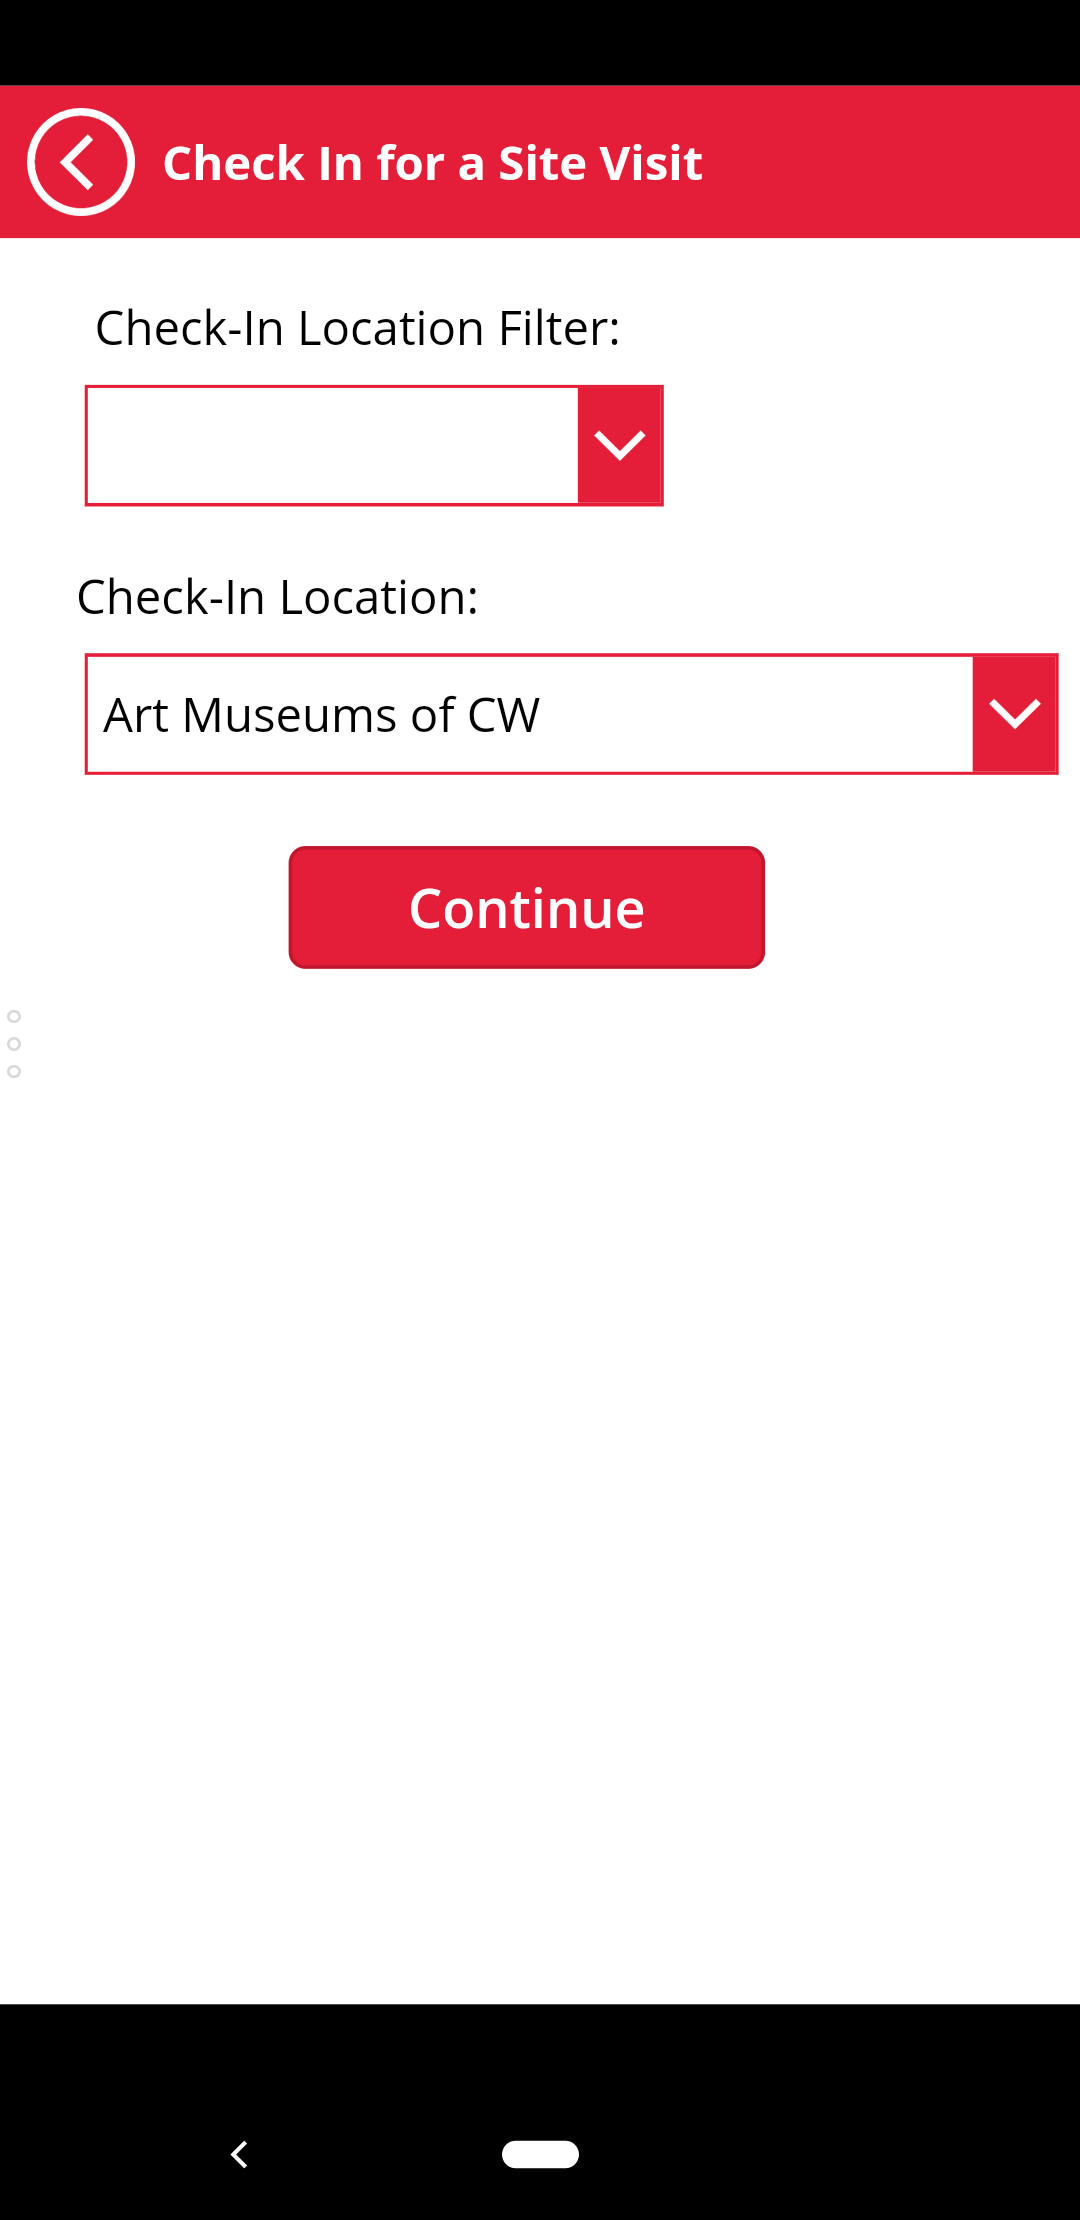
- You'll then have to choose a location to check-in to. Tap the drop down to reveal more options. Once the drop down is open, swipe up/down within it to scroll. Select a location then click the Continue button.
- There is an optional drop down to filter by Hospitality/Foundation locations.
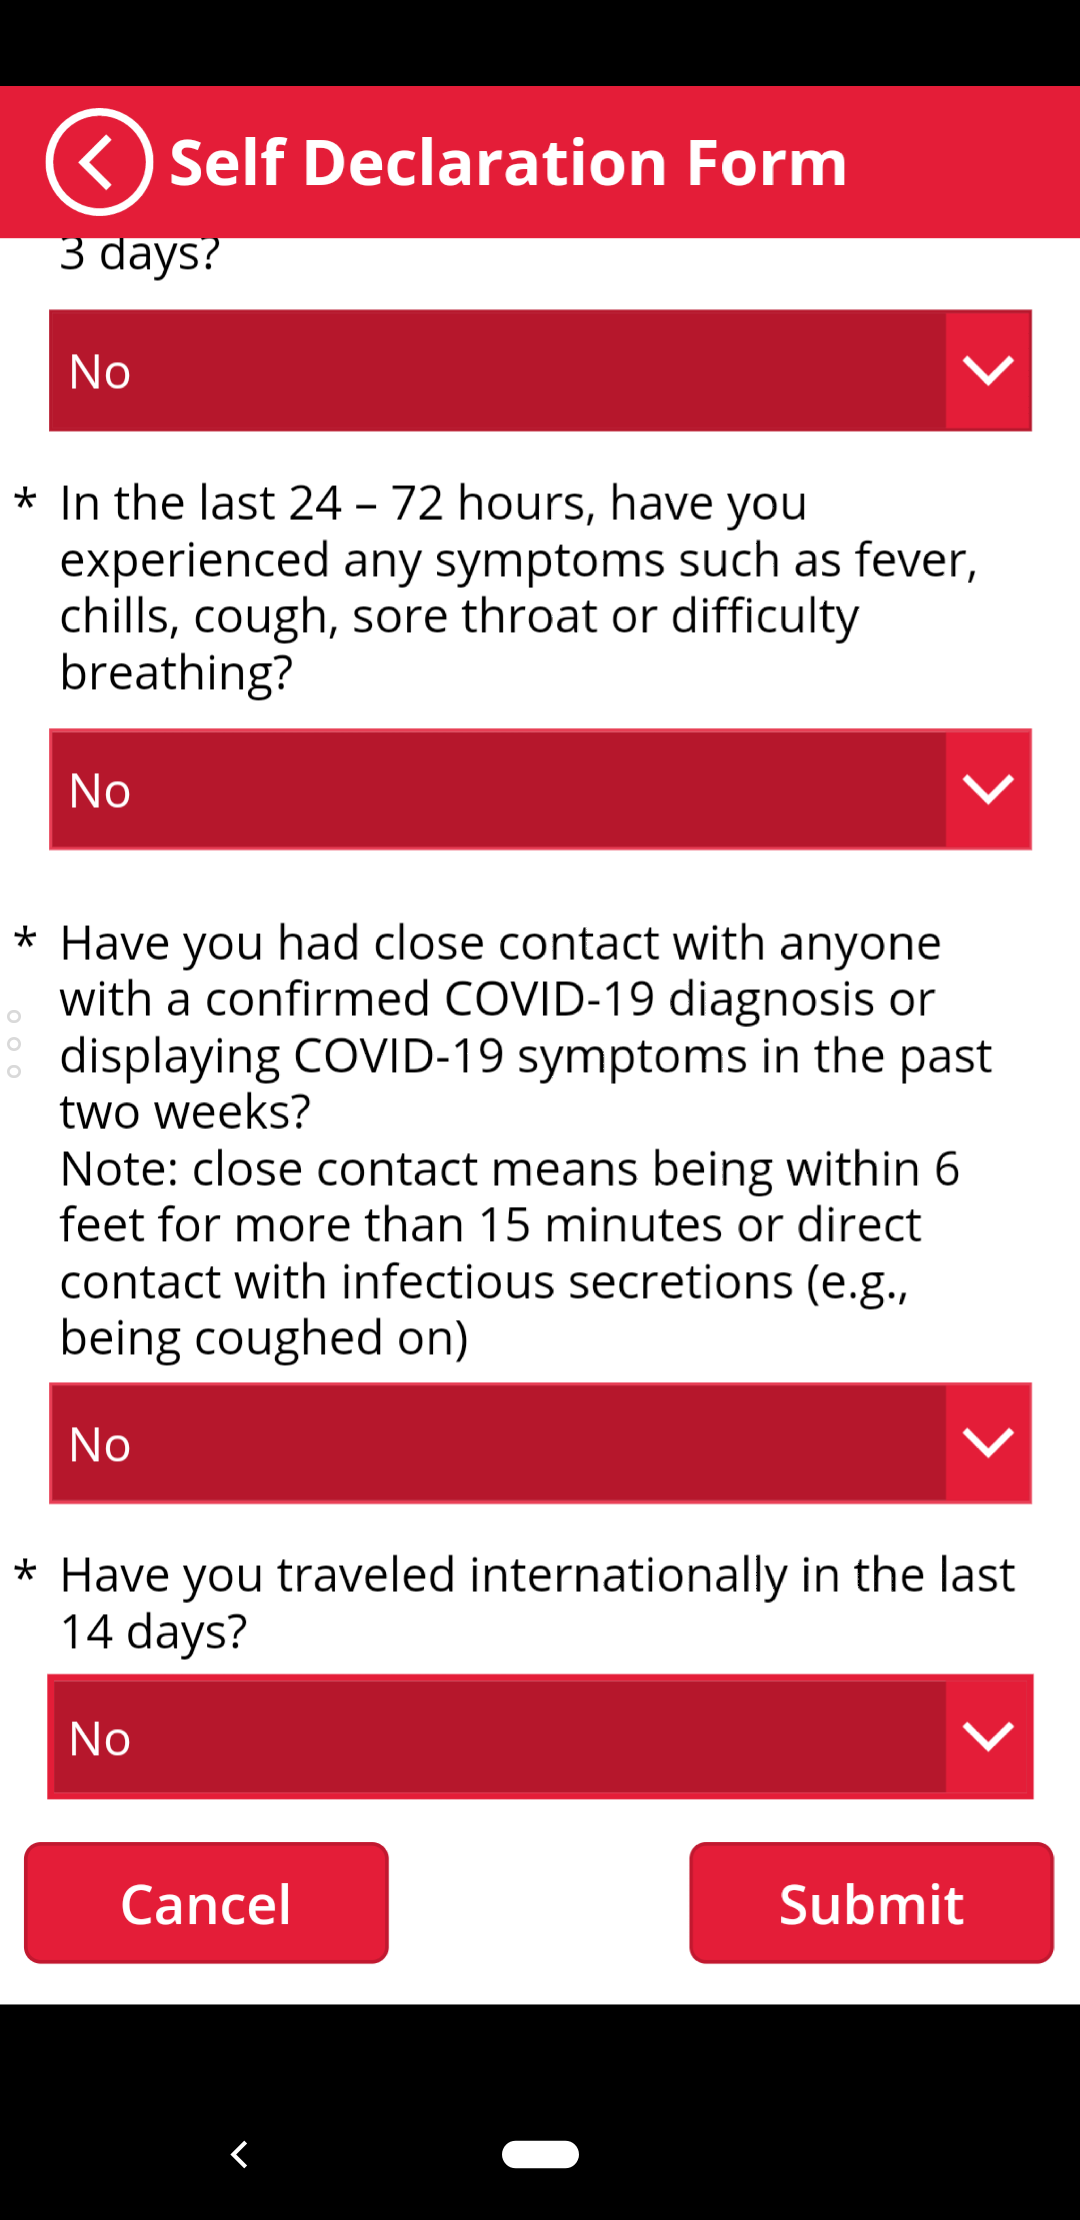
- Now you will be in the Self Declaration Form. We will go through the form assuming you're submitting the form for yourself, and you are answering all the questions with No.
- Do not flip the are you entering this on behalf of another person? switch.
- Read the four yes/no questions and answer them truthfully.
- Tap Submit to complete the form.

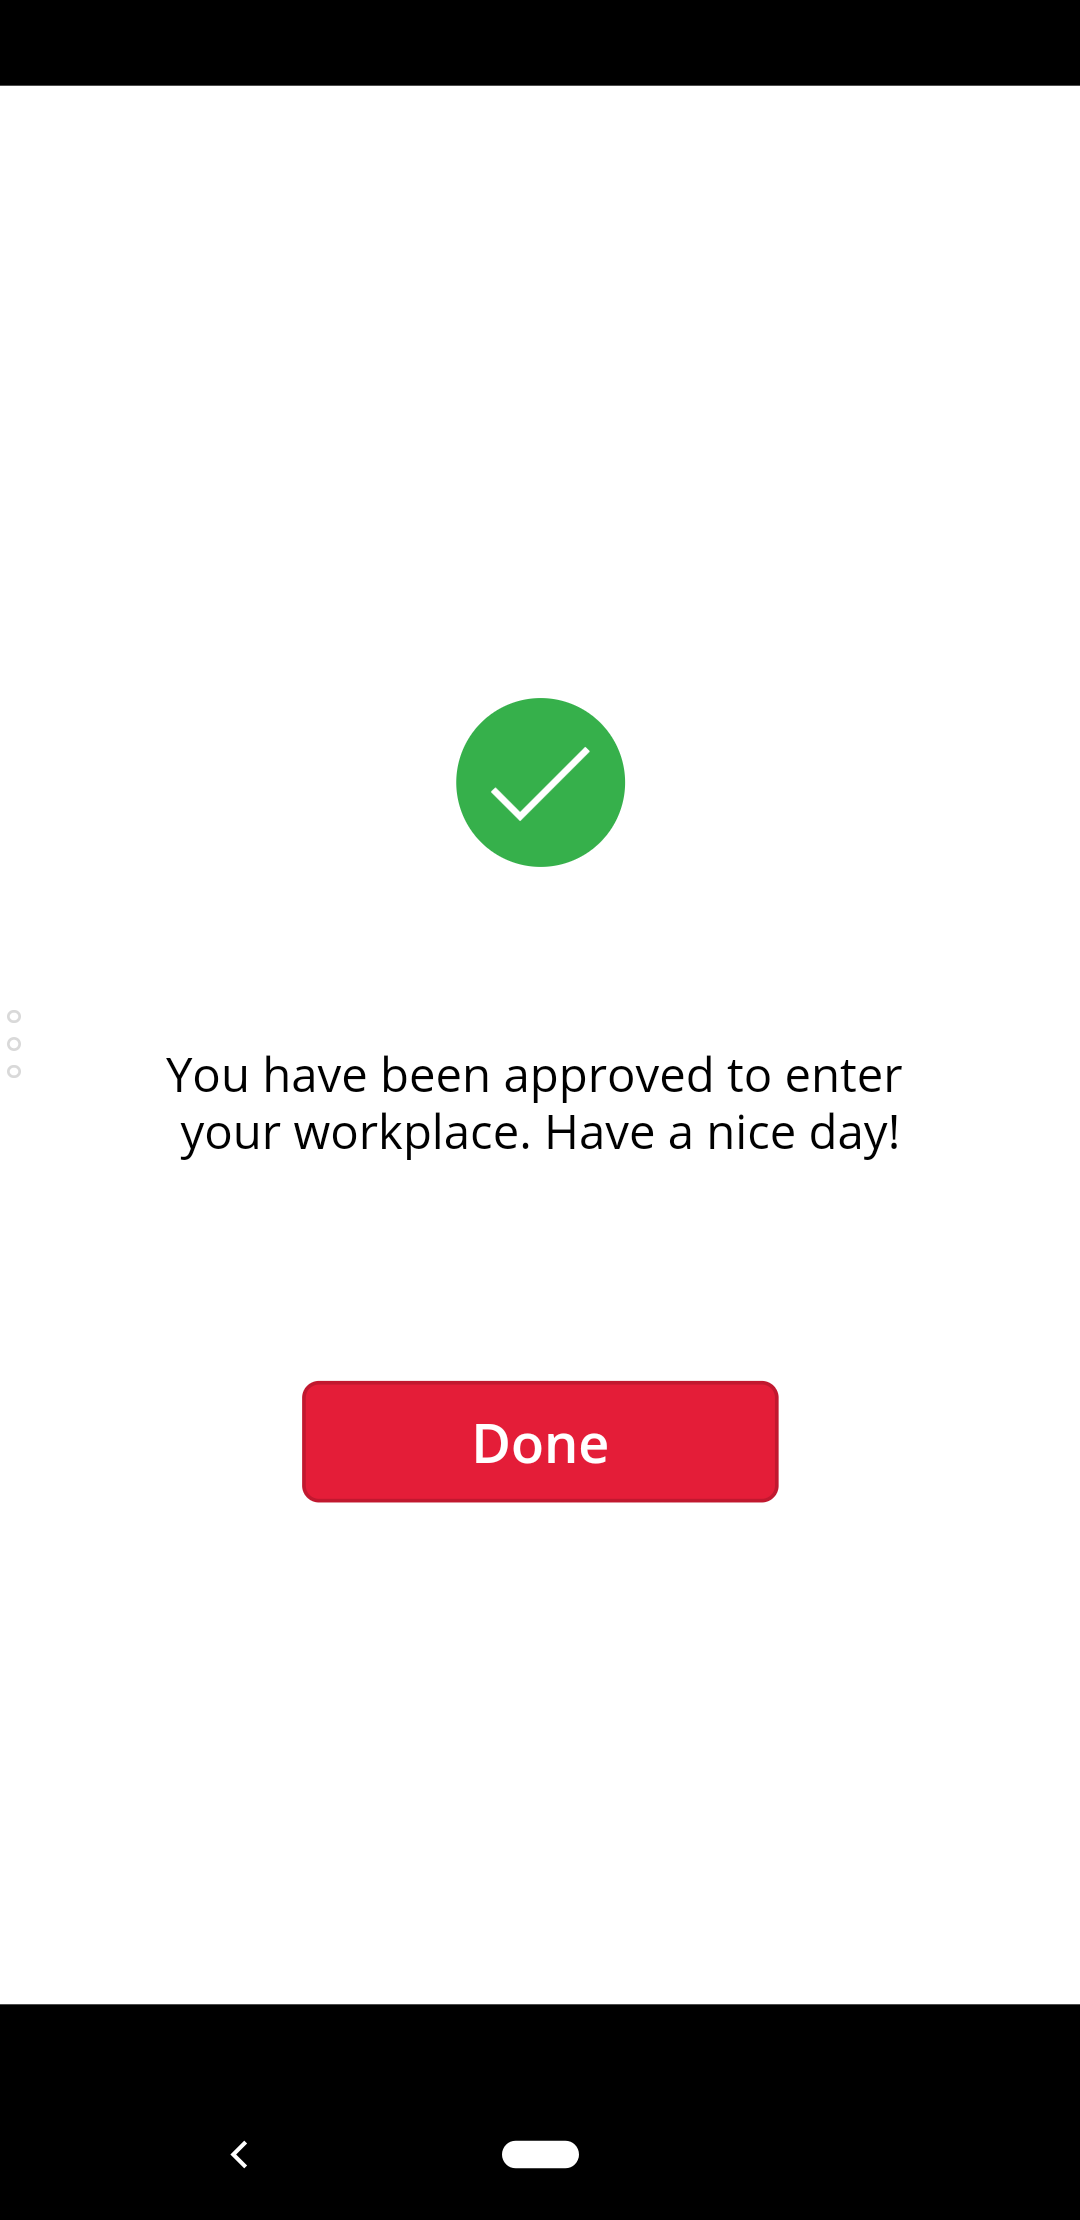
- Tap Done to return to the main screen.
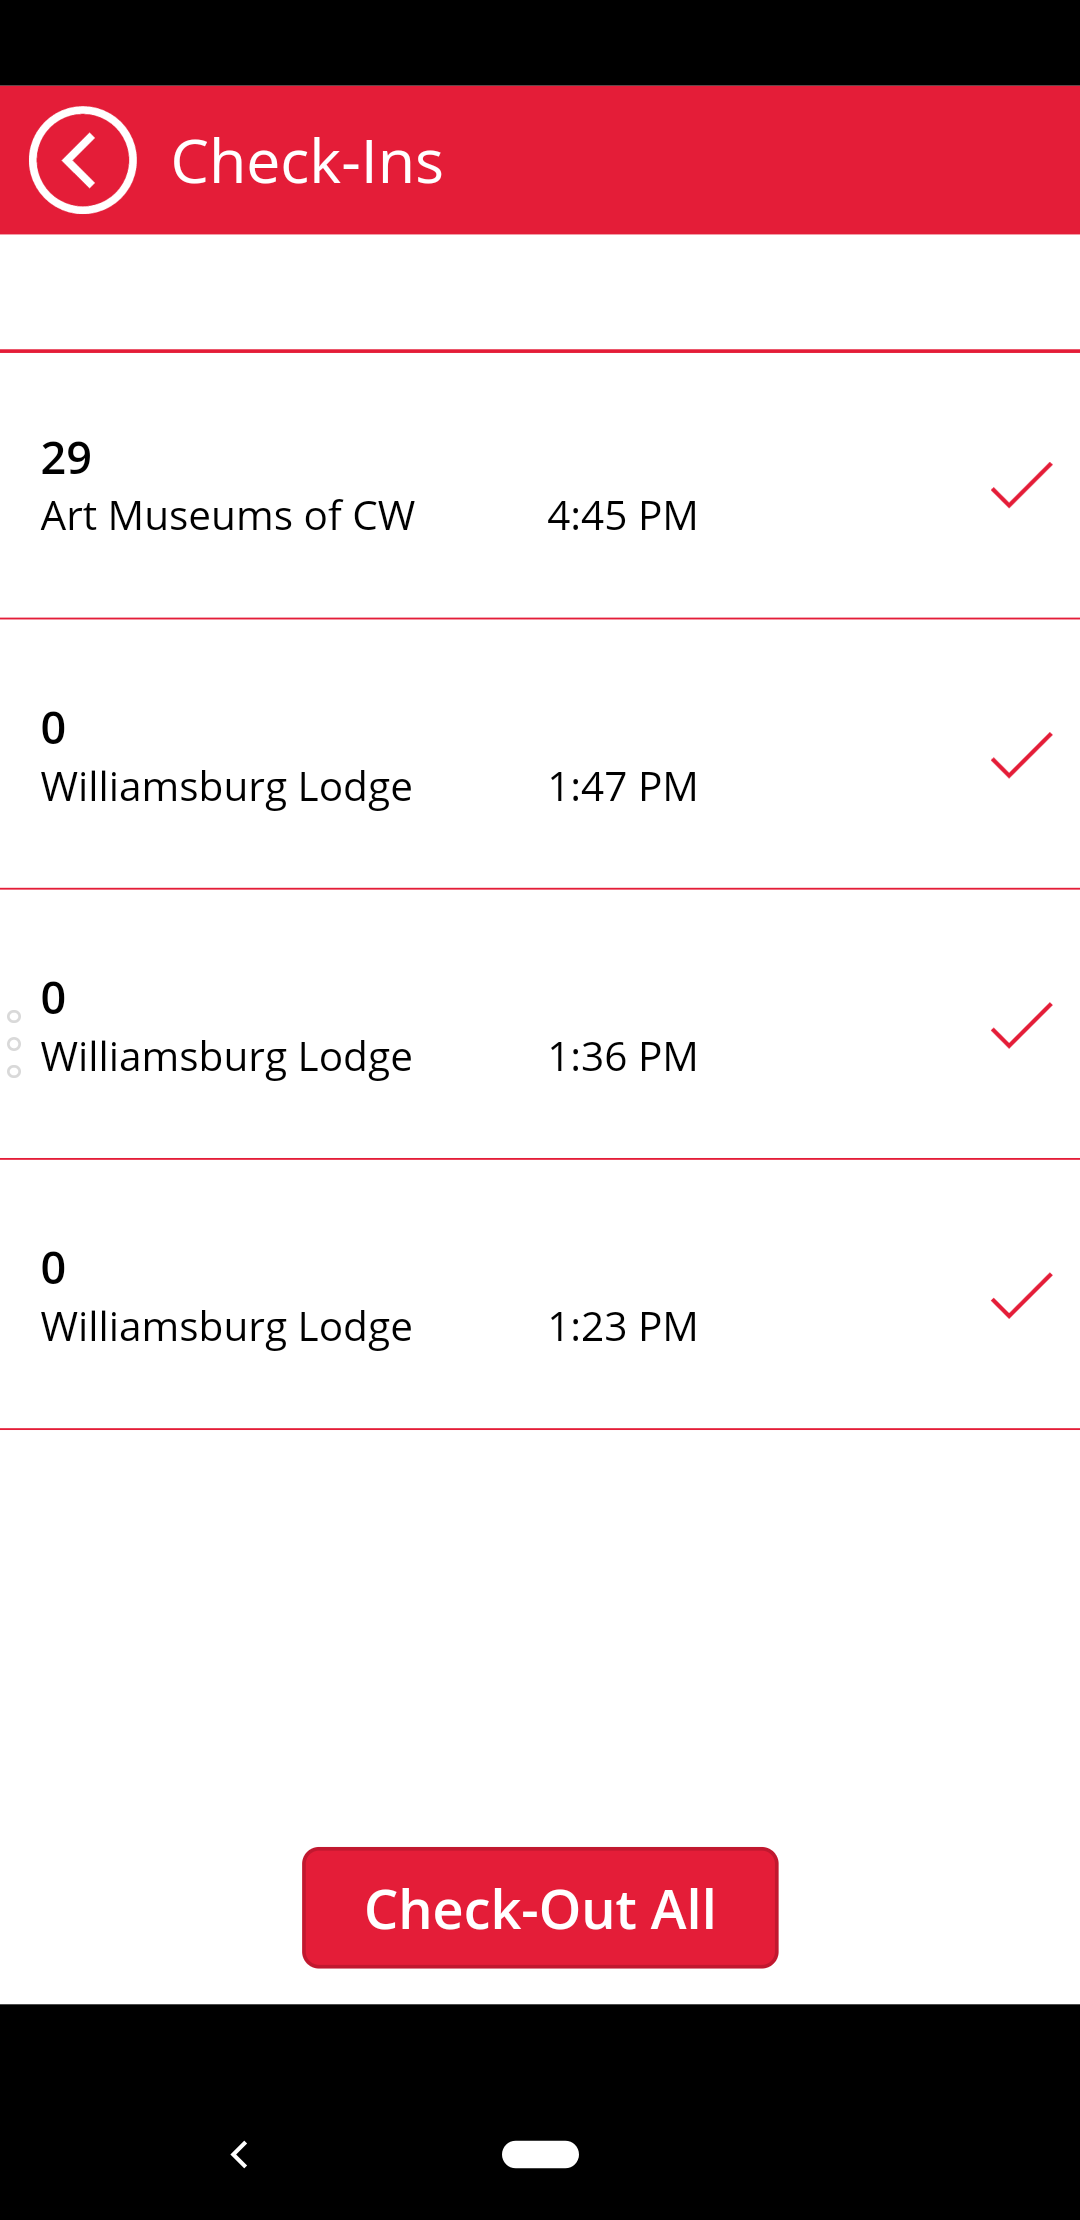
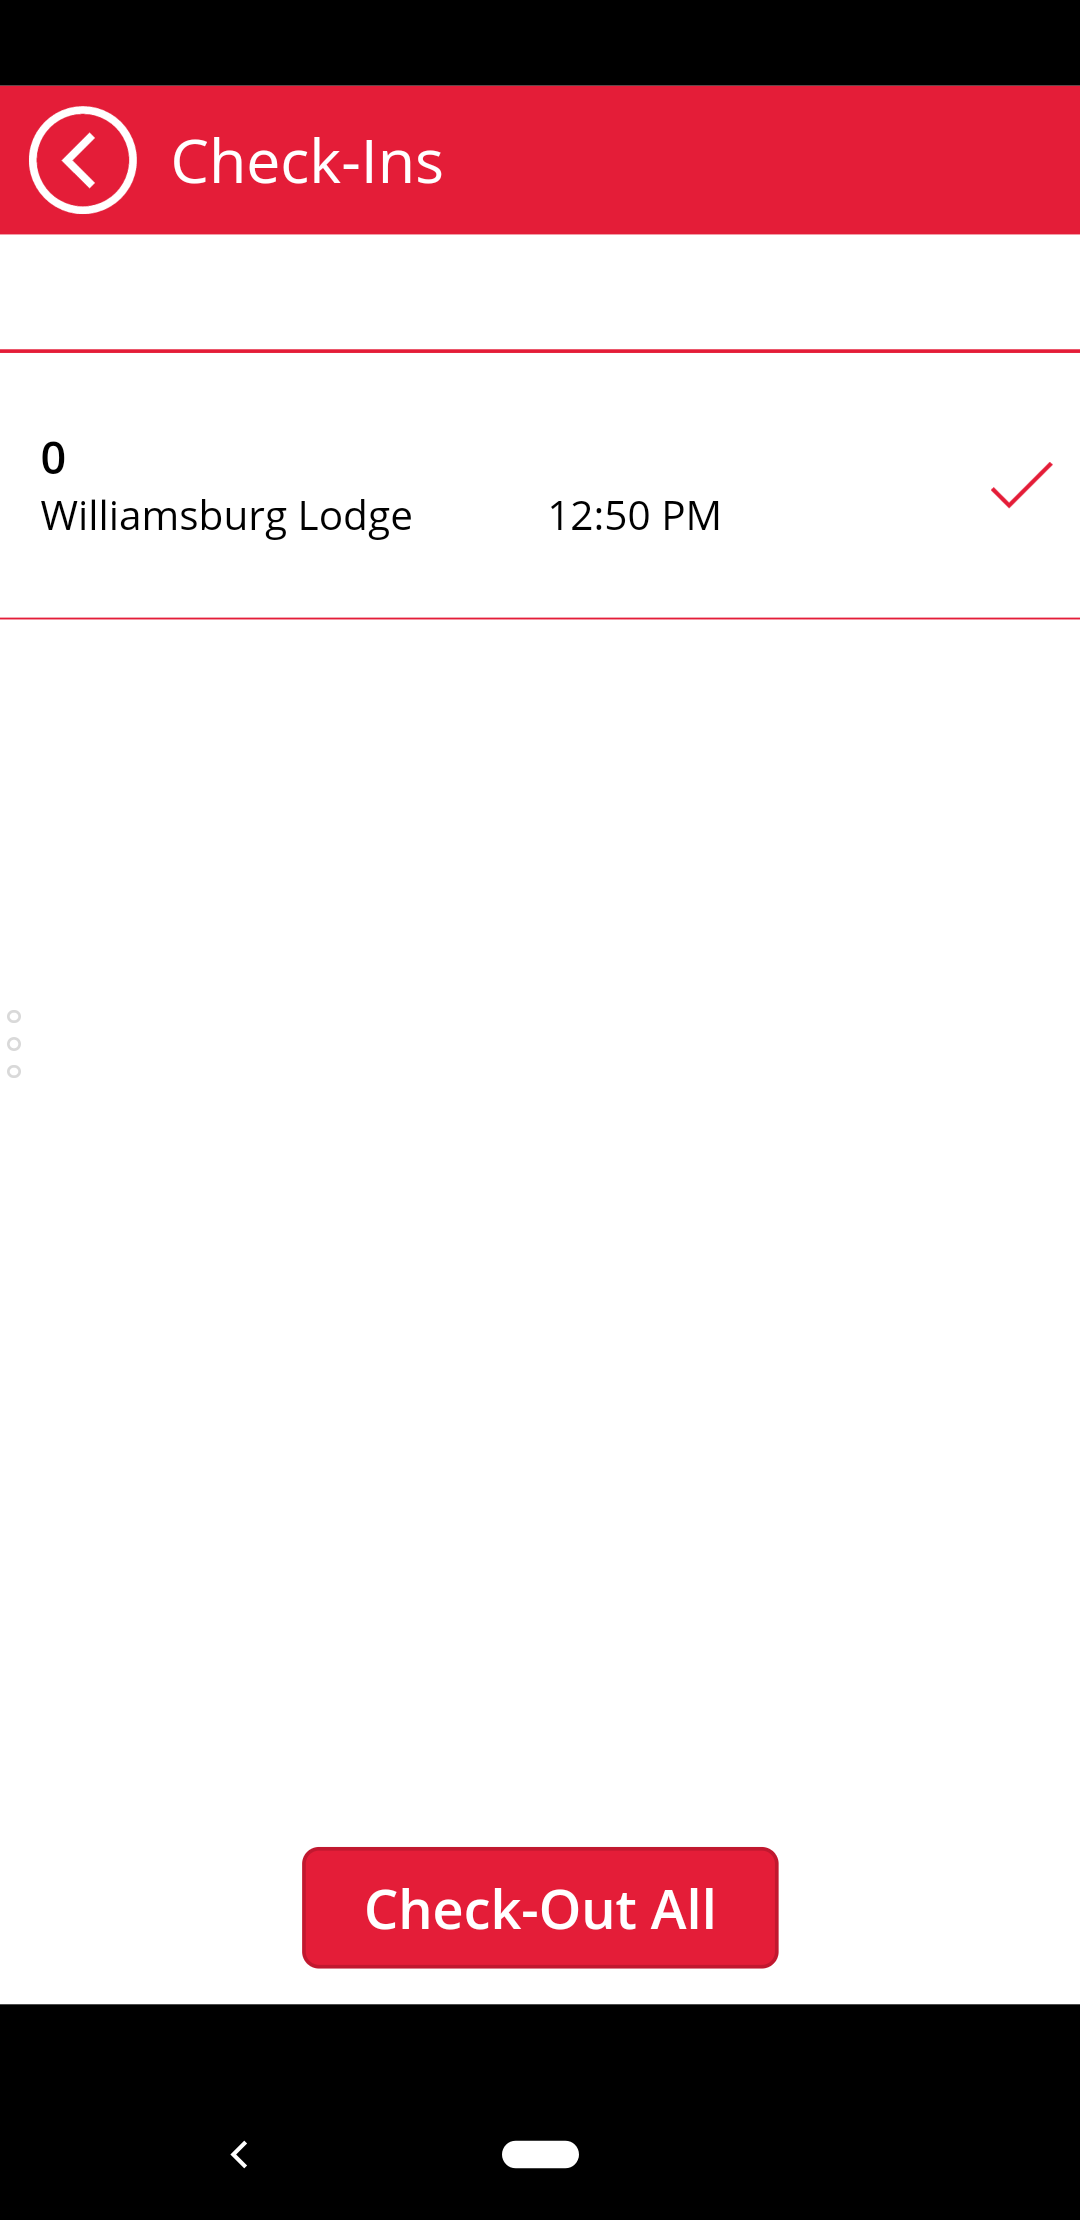
- When the time comes to check-out, scroll down to the bottom of the main screen. Tap the Check Out button.
- In the check-out screen, you'll see all your current check-ins and a check mark next to them. If you only want to check out of one location, tap the check mark. If you want to check out of everywhere at once, tap the Check-Out All button.
If answering Yes to a question
- If you answered yes to one of the four health questions, when you tap the Submit button you will see the following screen.
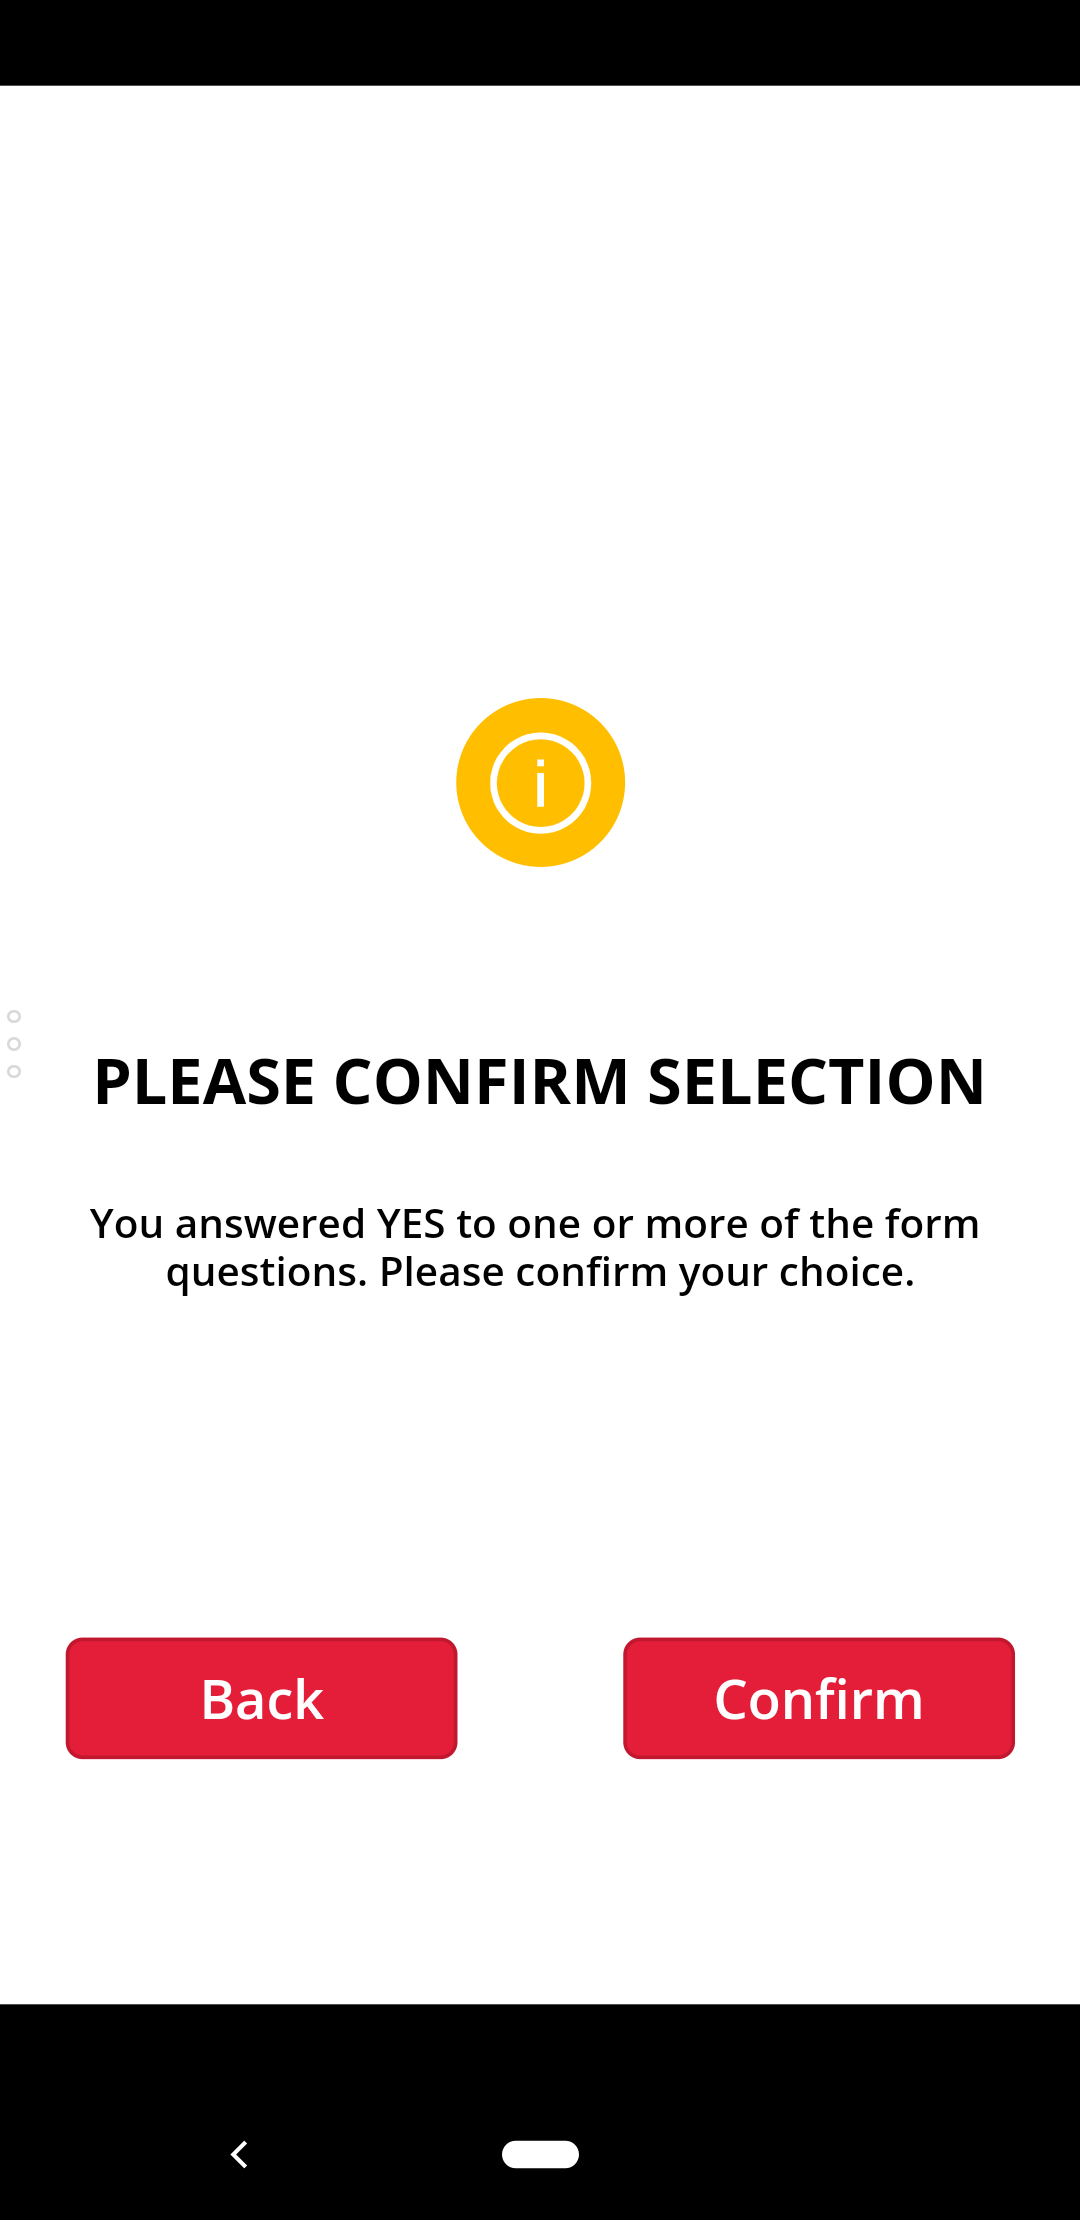
- Tap Confirm to proceed. You'll see the following screen (with no phone number).
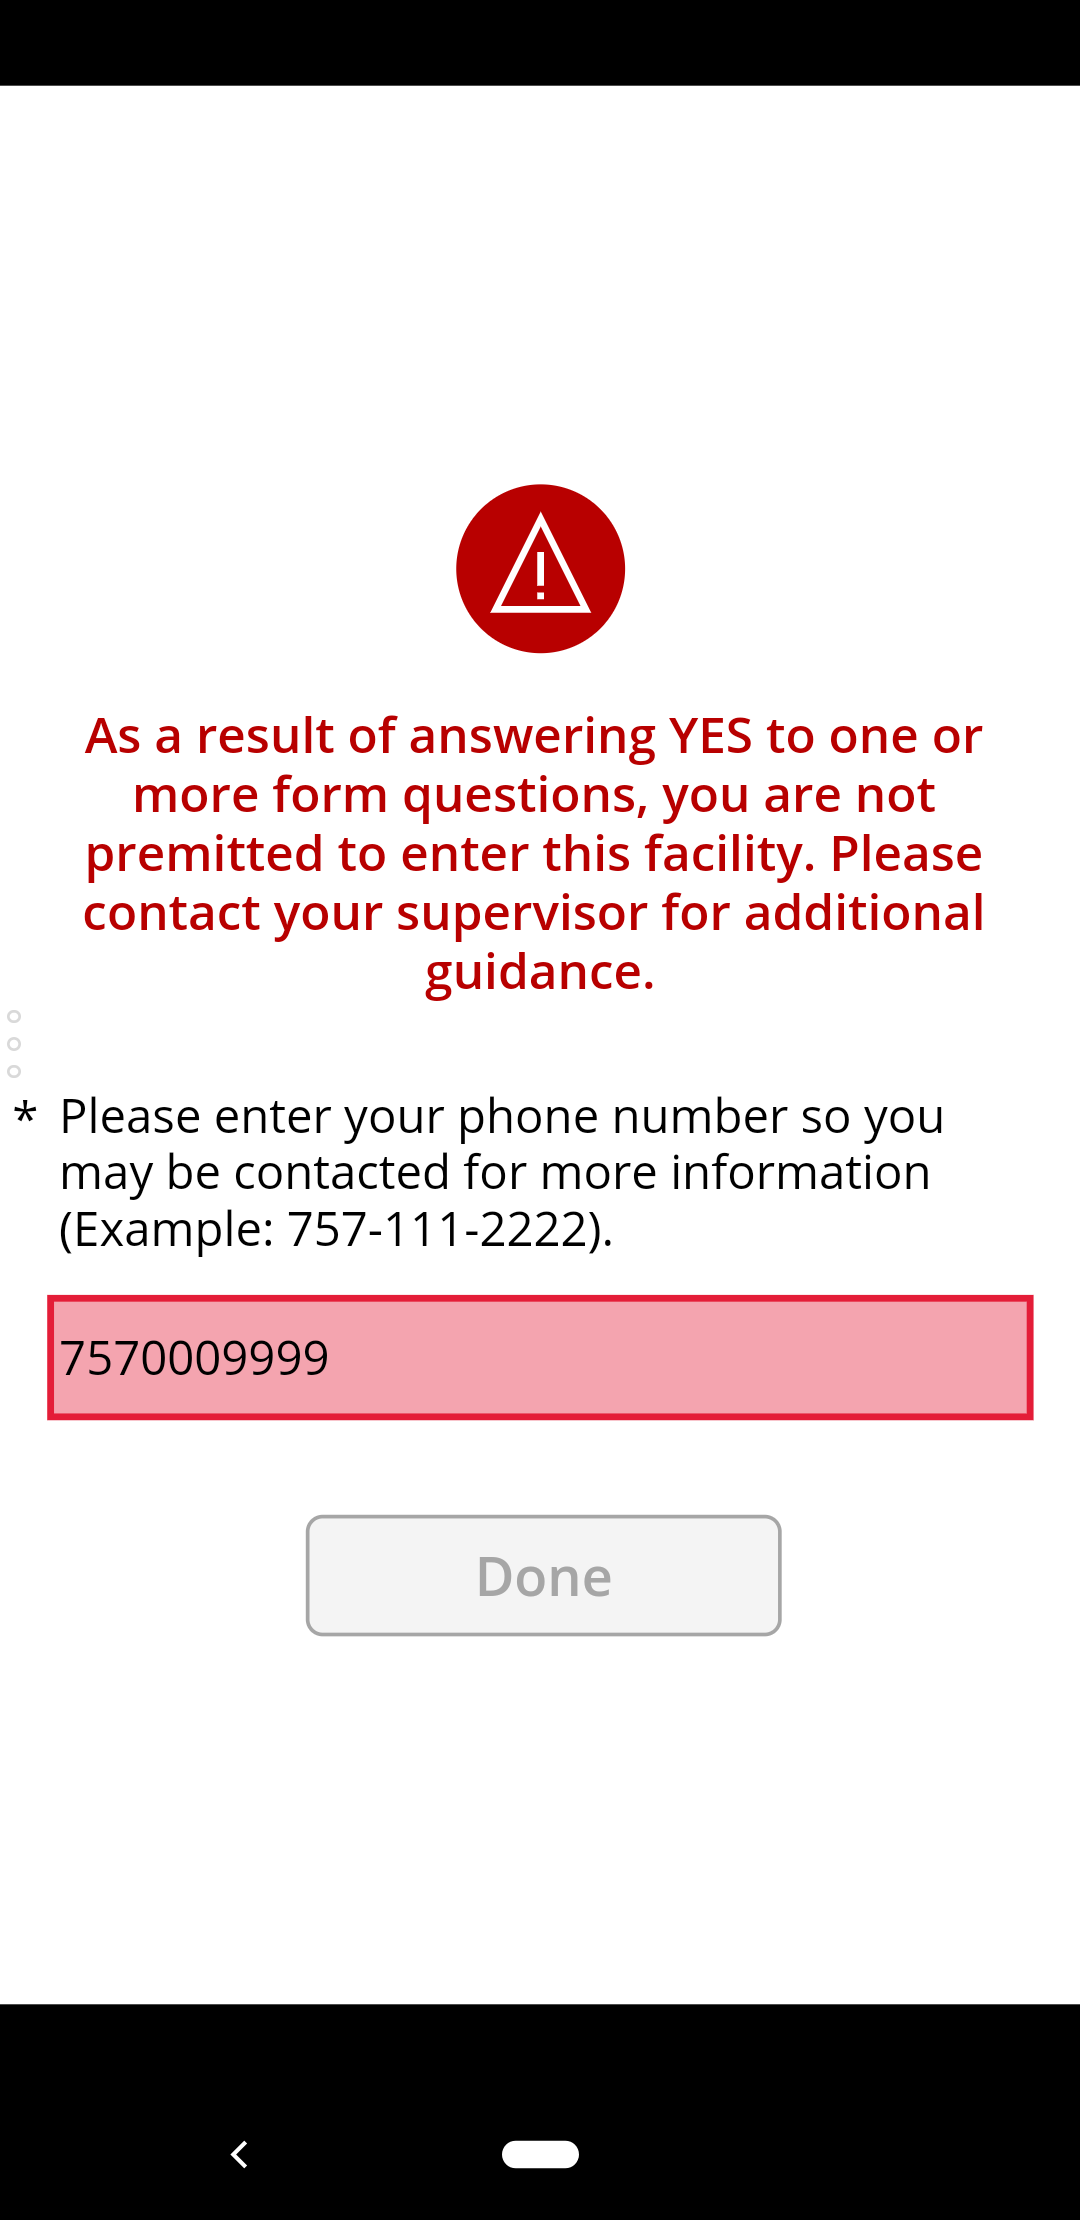
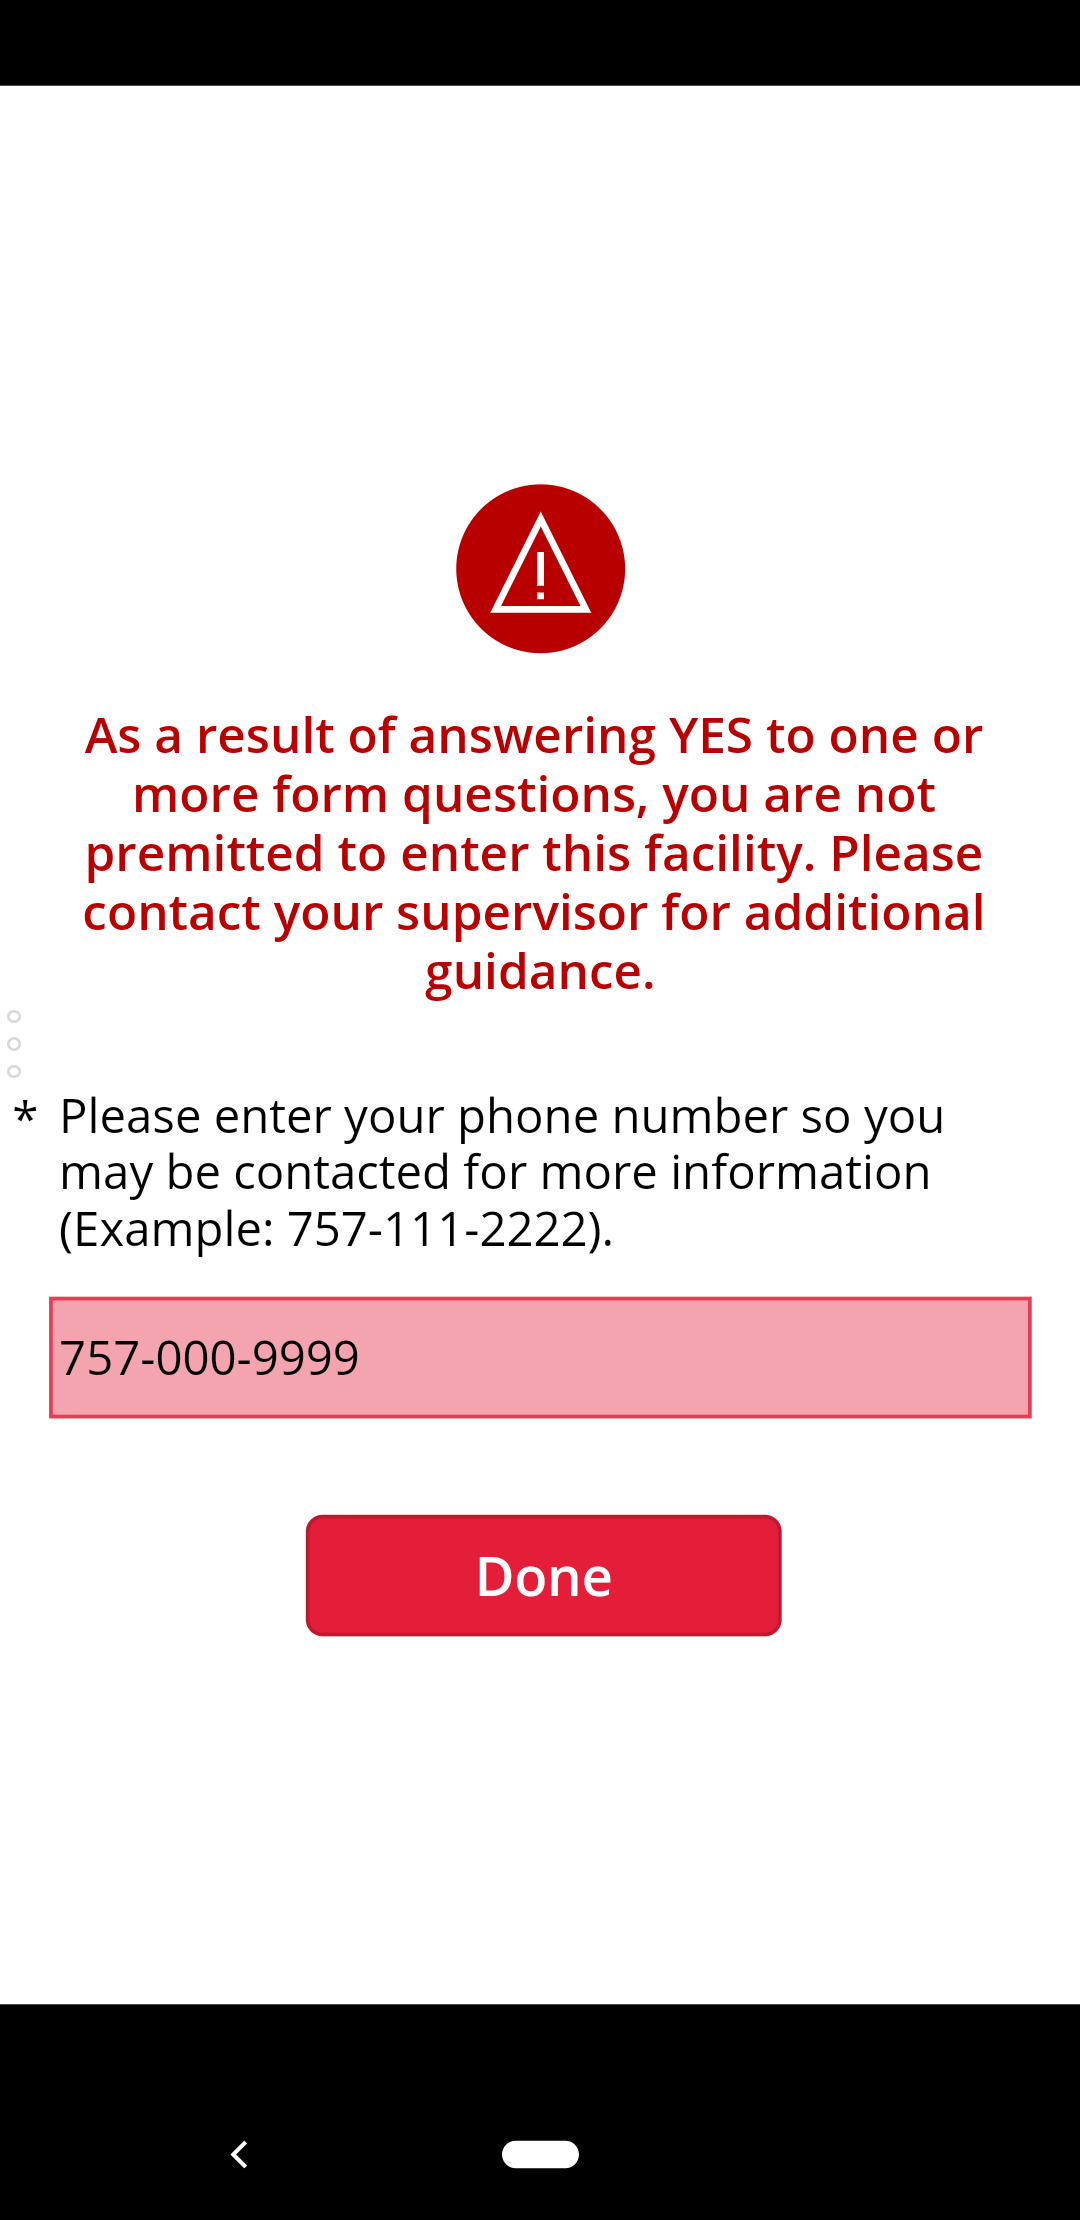
- You will be informed you have been denied entry to the building, and asked to enter your phone number for potential follow up. The Done button will be disabled until a phone number is entered.
- Enter your phone number in the format 000-111-2222, or only enter the 10 digits without dashes. An error message will be displayed if the number isn't either of those formats.
- Tap the Done button to be returned to the main screen.
Using the app for someone else
- Tap the ClearPass app to start it.
- After the app loads, you'll be at the main screen. To check-in to a location, tap Check In.
- You'll then have to choose a location to check-in to. Tap the drop down to reveal more options. Once the drop down is open, swipe up/down within it to scroll. Select a location then click the Continue button.
- There is an optional drop down to filter by Hospitality/Foundation locations.
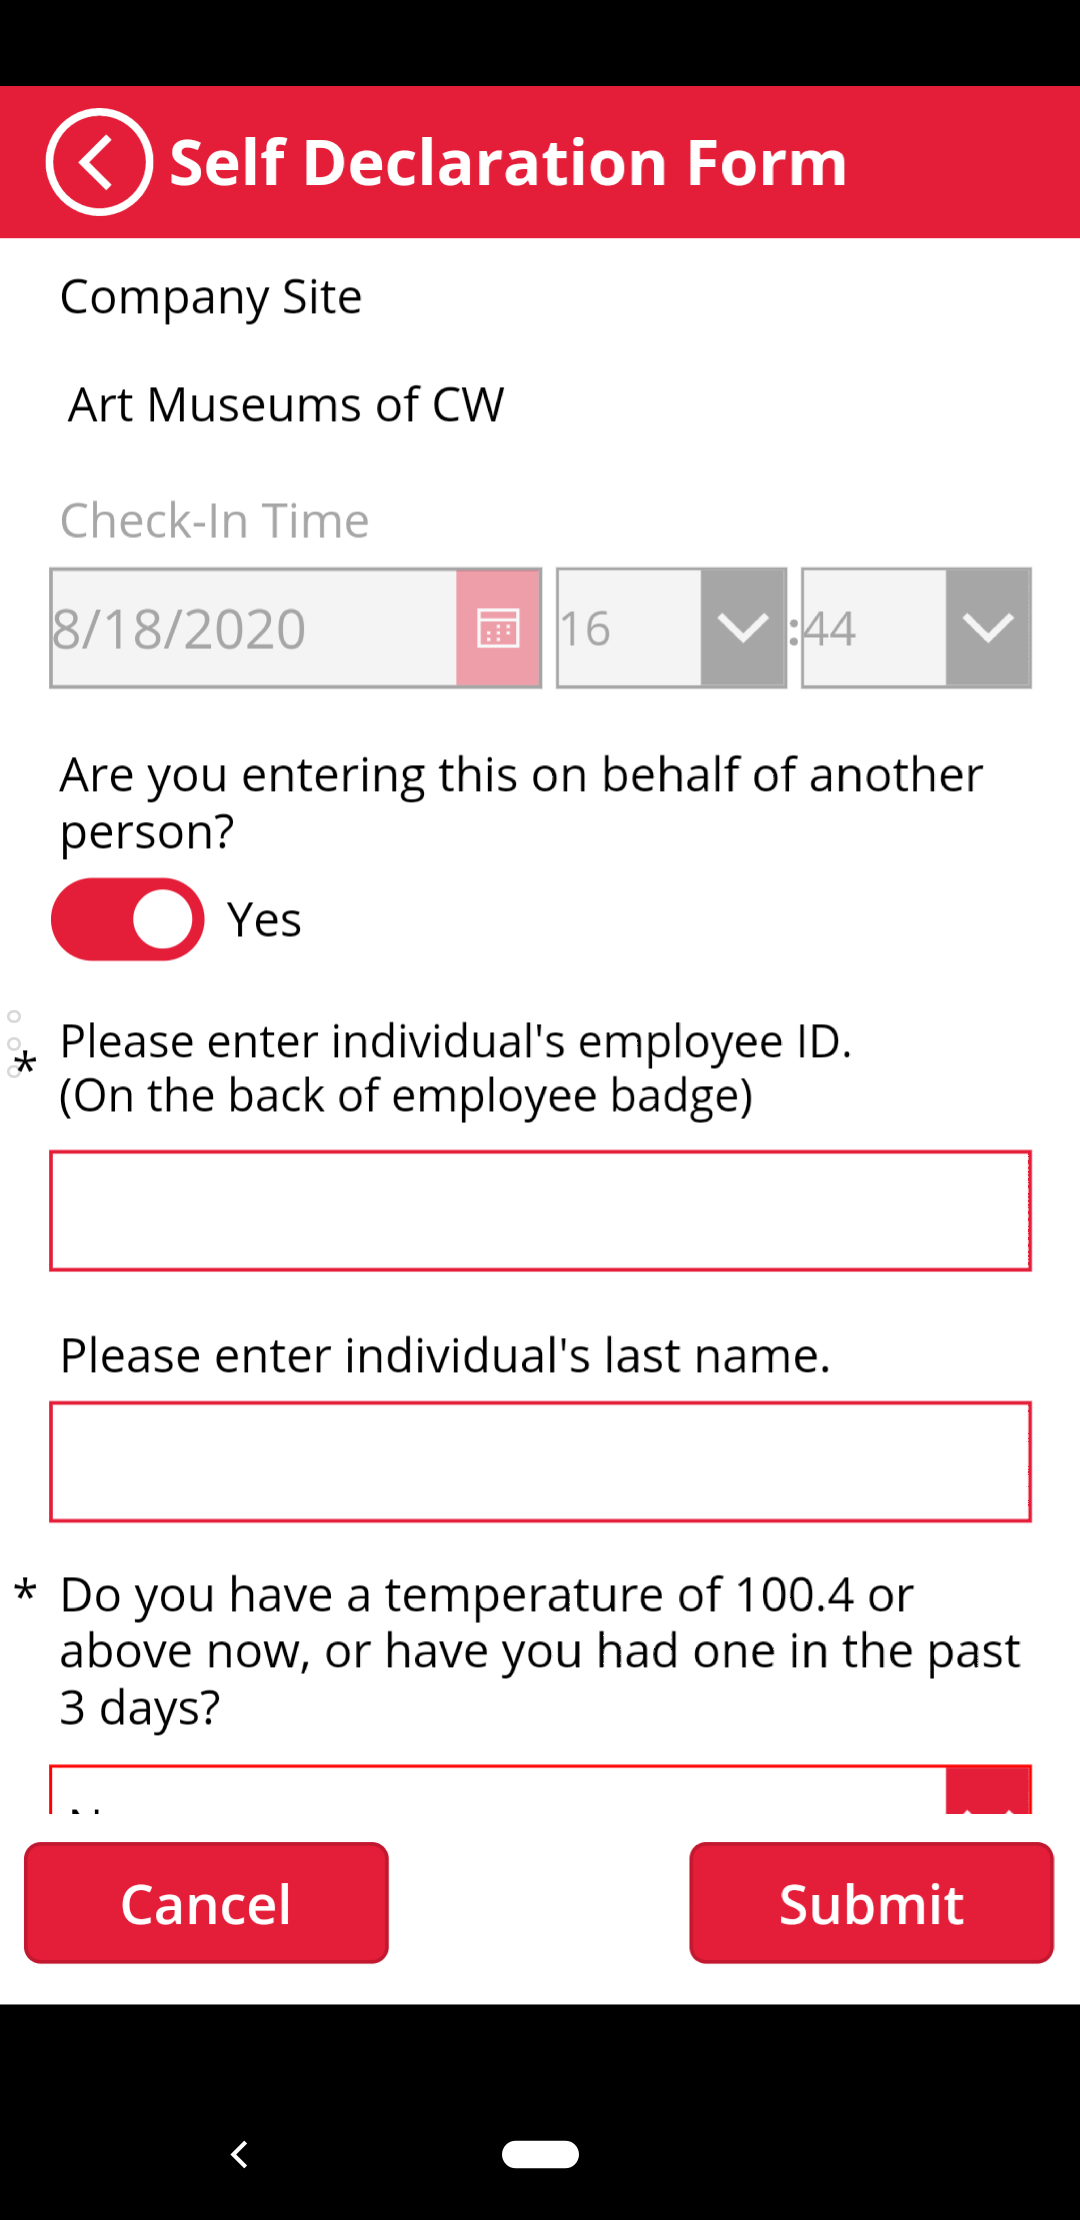
- Now you will be in the Self Declaration Form. We will go through the form assuming you're submitting the form for someone else, and you are answering all the questions with No.
- Flip the are you entering this on behalf of another person? switch.
- Enter the individual's employee ID.
- Enter the individual's last name.
- Read the individual the four yes/no questions and answer them truthfully.
- Tap Submit to complete the form.
- Tap Done to return to the main screen.
- When the time comes to check-out the individual, scroll down to the bottom of the main screen. Tap the Check Out button.
- In the check-out screen, you'll see all your current check-ins as well as check-ins you did for others. If you only want to check out of one location/person, tap the check mark next to the entry. If you want to check out everyone from everywhere at once, tap the Check-Out All button.