...
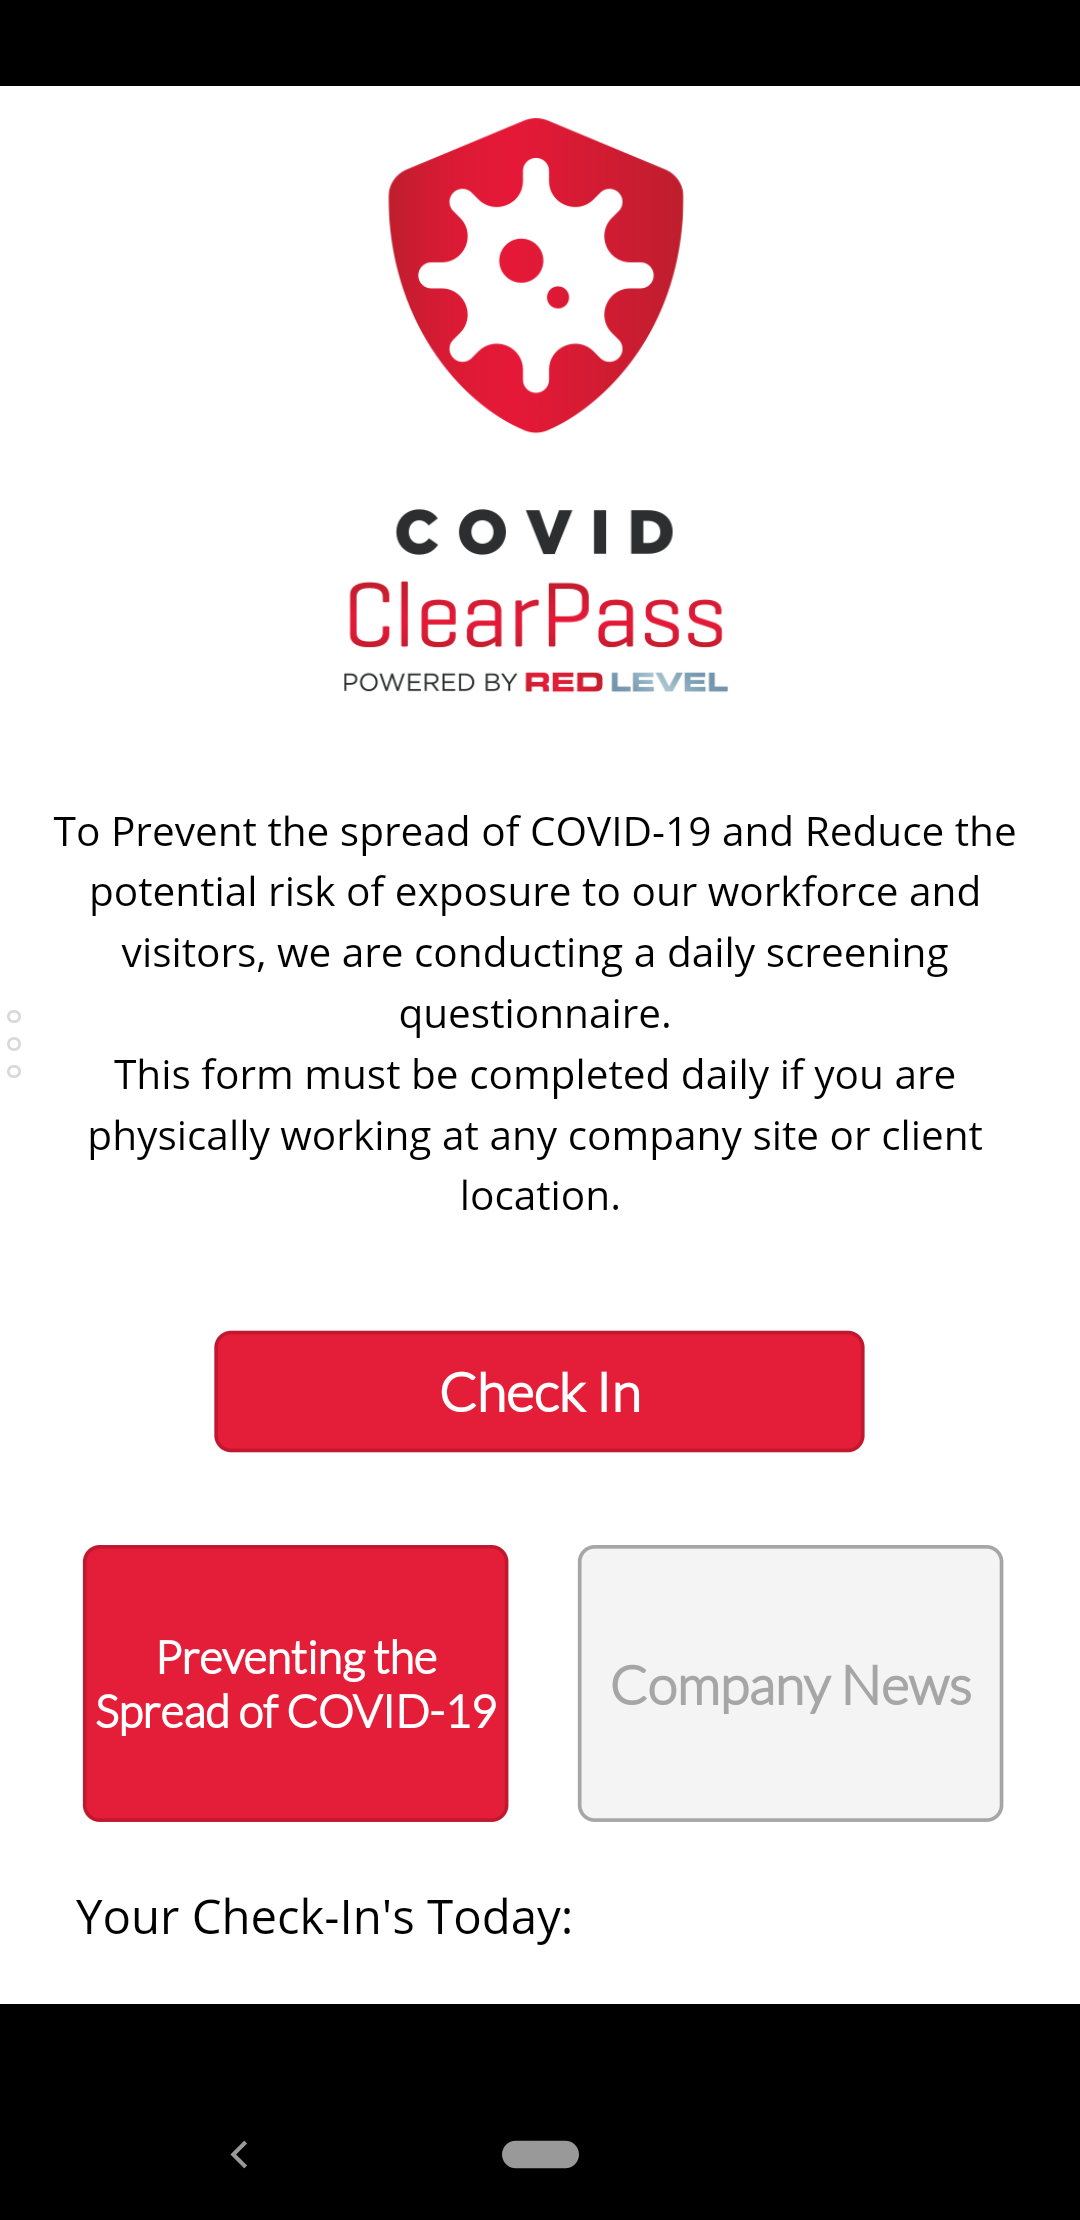
- Tap the ClearPass app to start it.
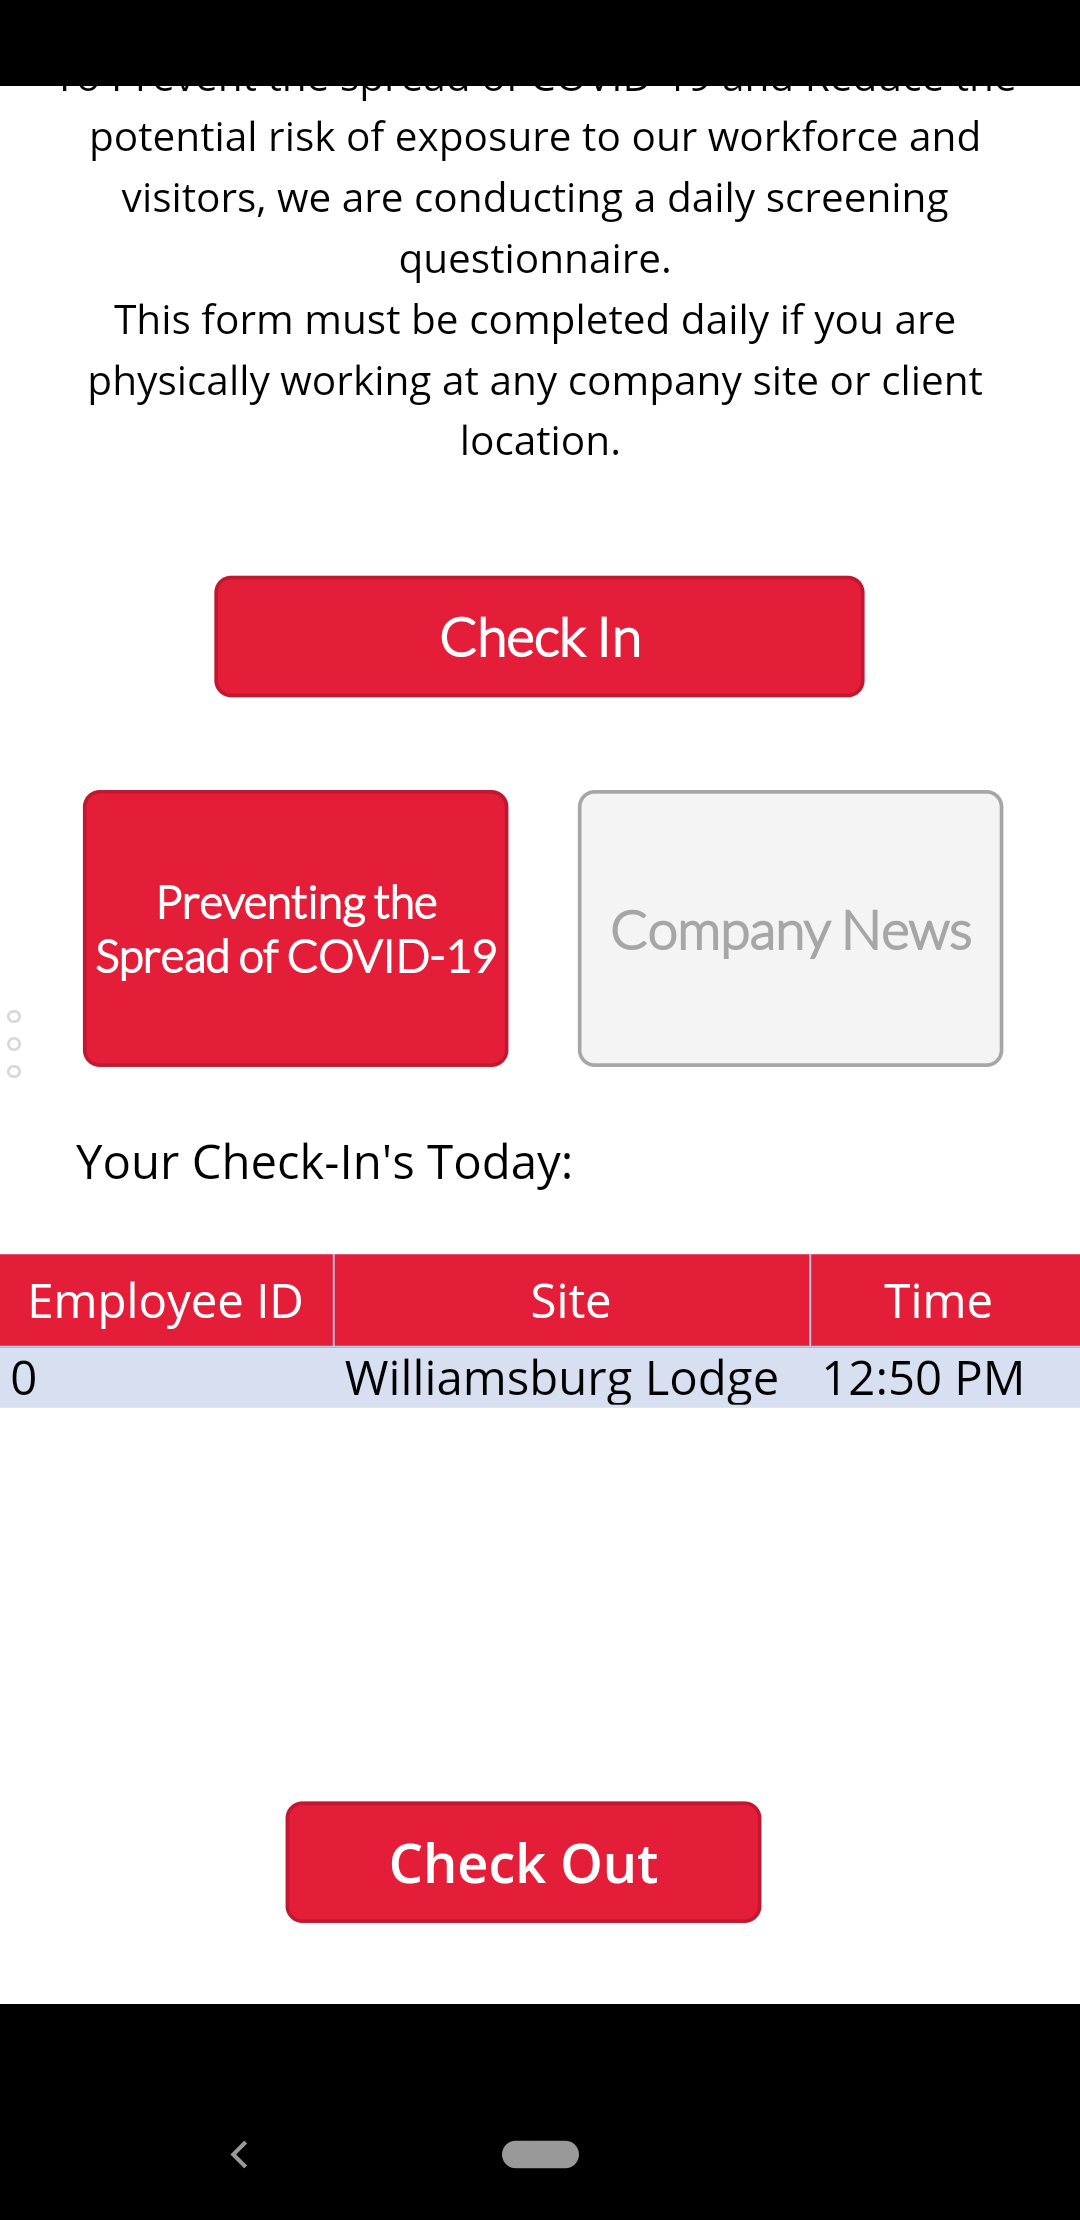
- After the app loads, you'll be at the main screen. To check-in to a location, tap Check In.
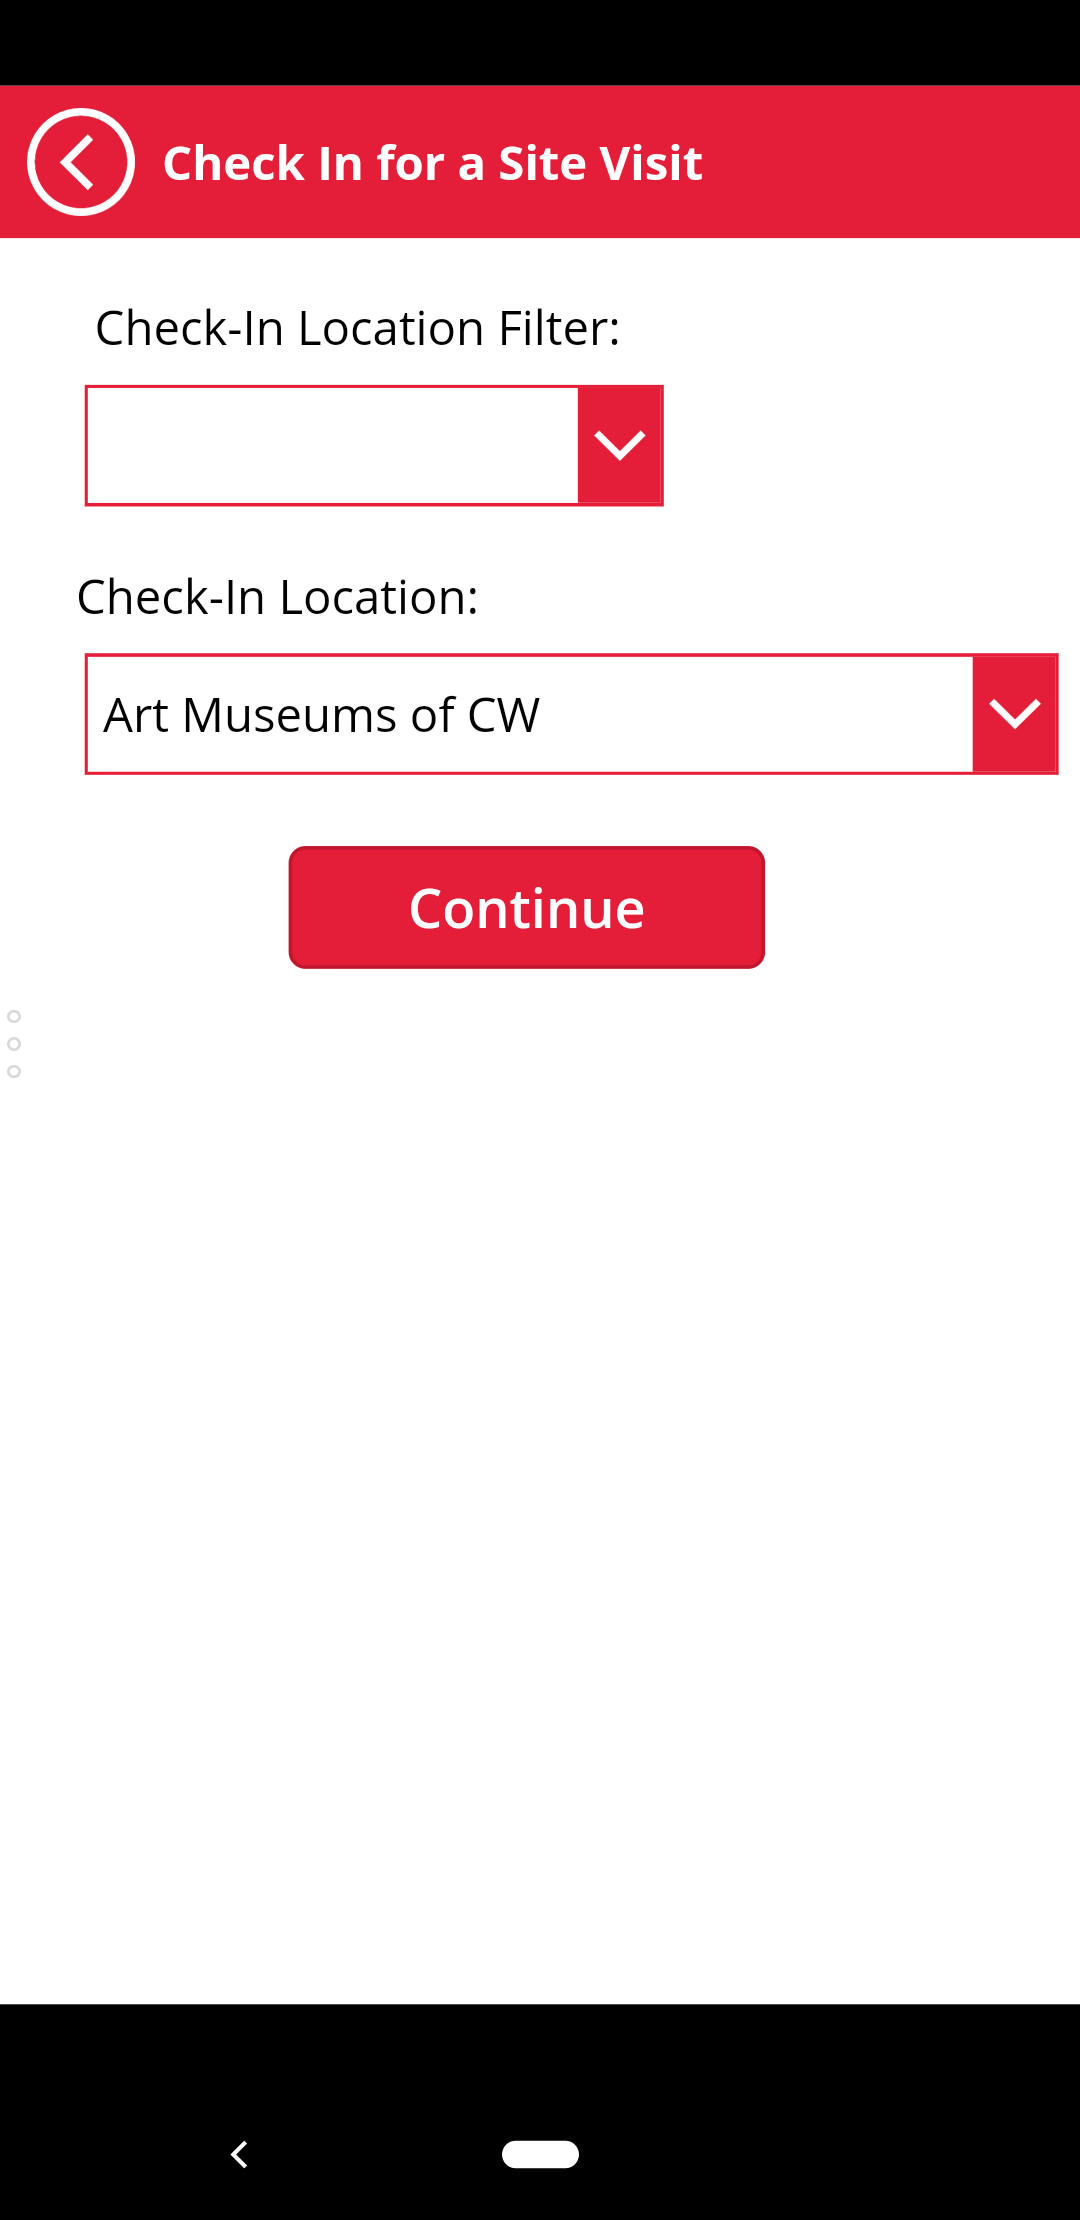
- You'll then have to choose a location to check-in to. Tap the drop down to reveal more options. Once the drop down is open, swipe up/down within it to scroll. Select a location then click the Continue button.
- There is an optional drop down to filter by Hospitality/Foundation locations.
- There is an optional drop down to filter by Hospitality/Foundation locations.
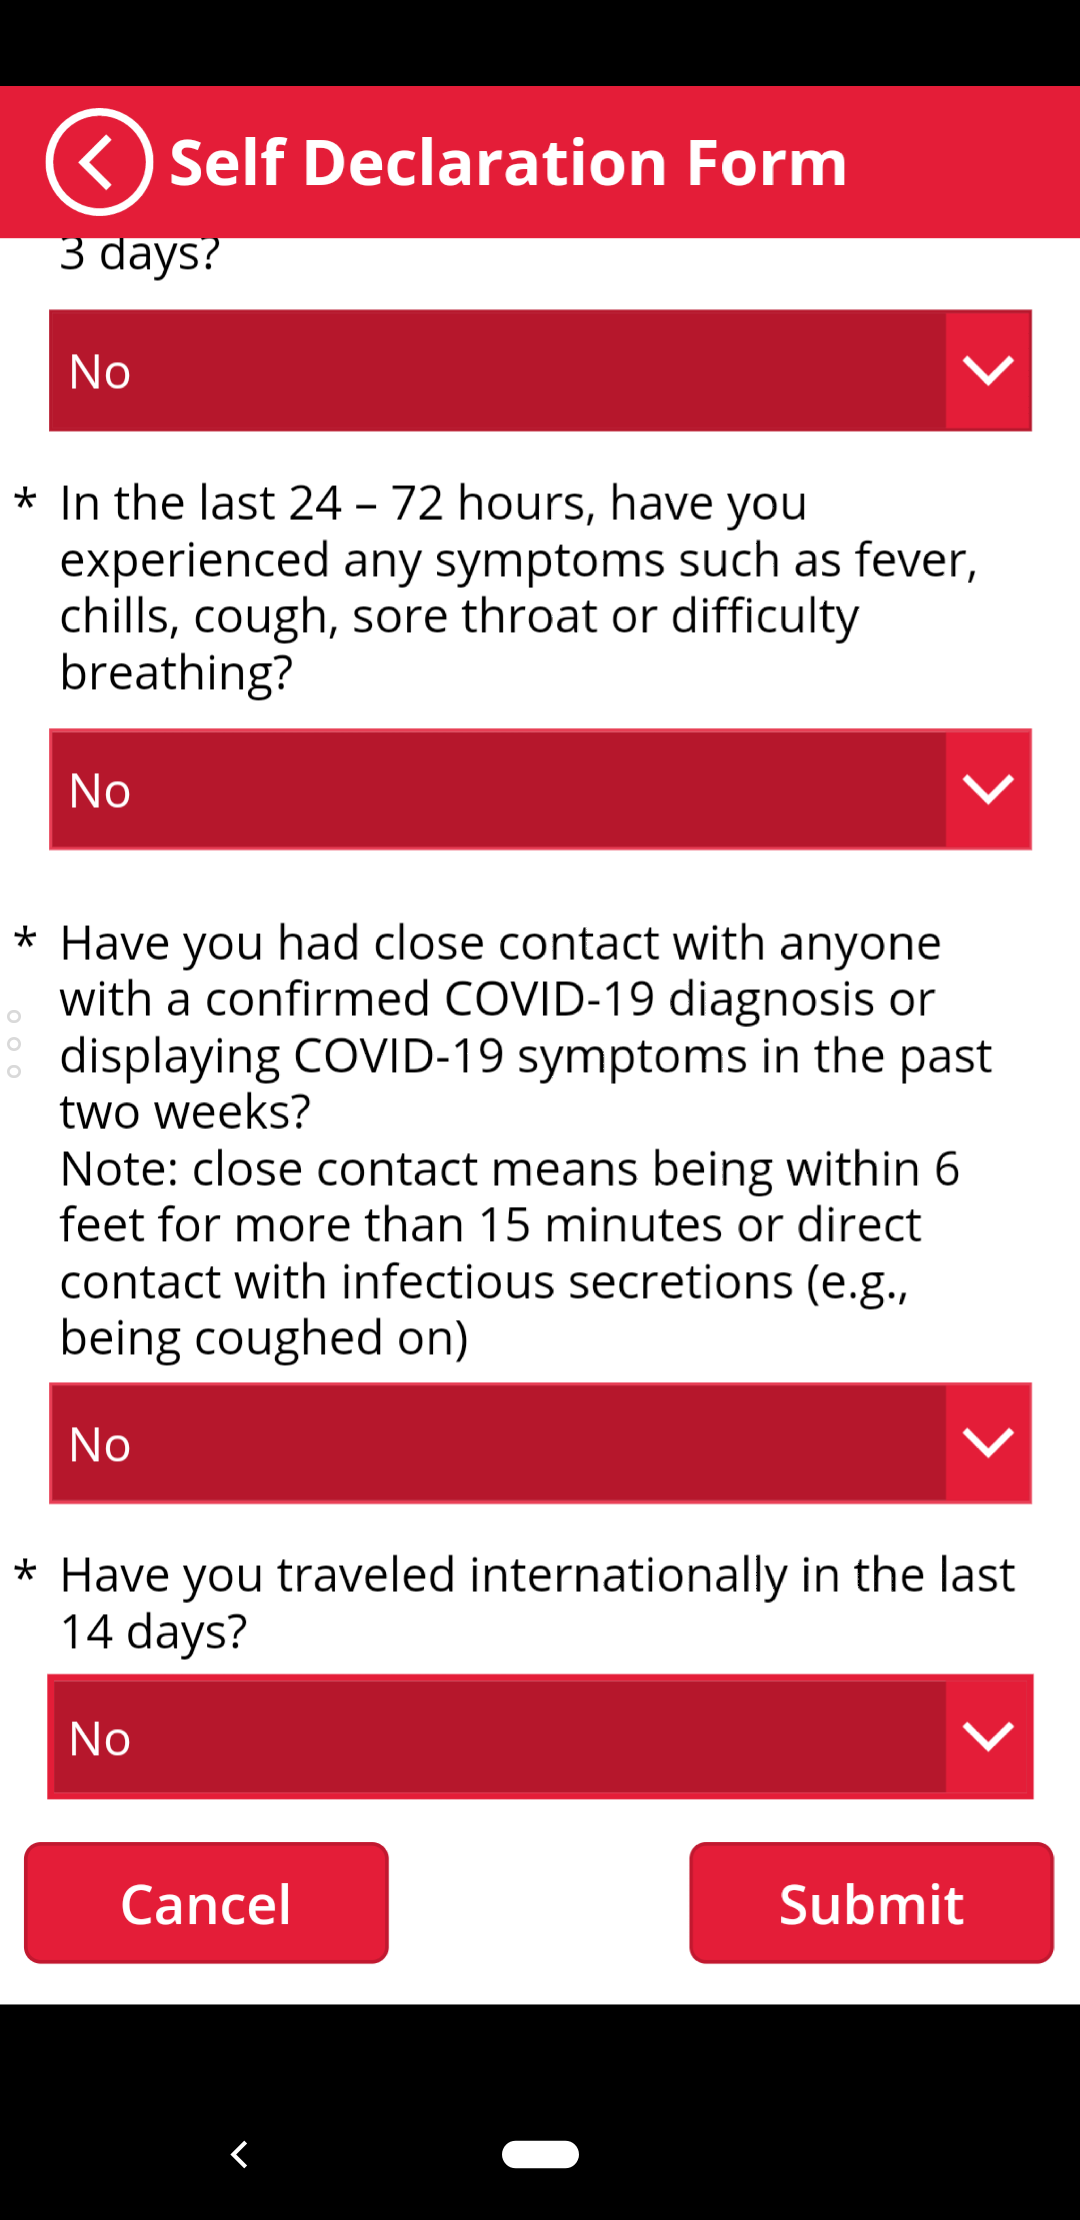
- Now you will be in the Self Declaration Form. We will go through the form assuming you're submitting the form for yourself, and you are answering all the questions with No.
- Do no not flip the are you entering this on behalf of another person? switch.
- Read the four yes/no questions and answer them truthfully.
- Tap Submit to complete the form.

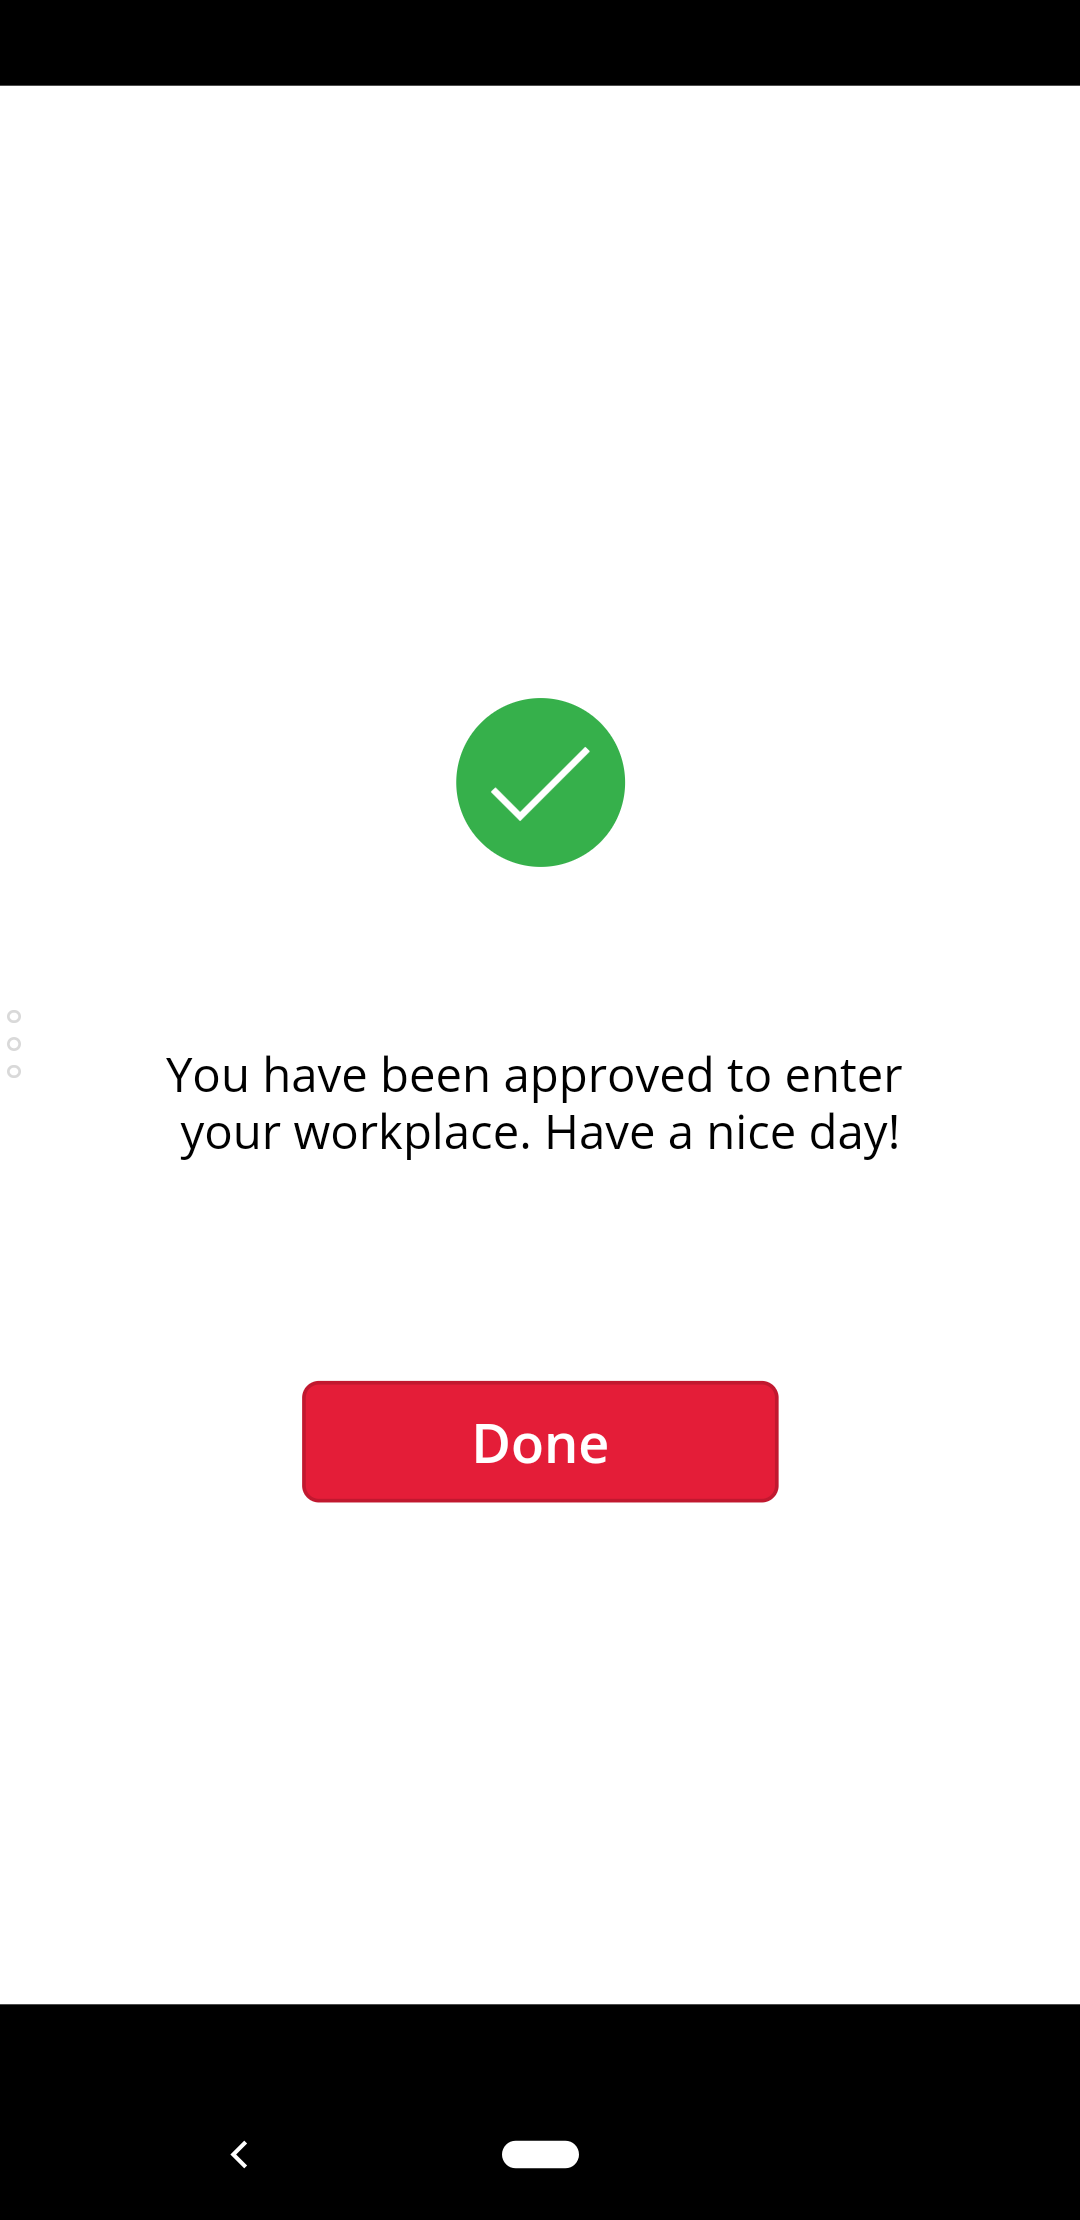
- Tap Done to return to the main screen.
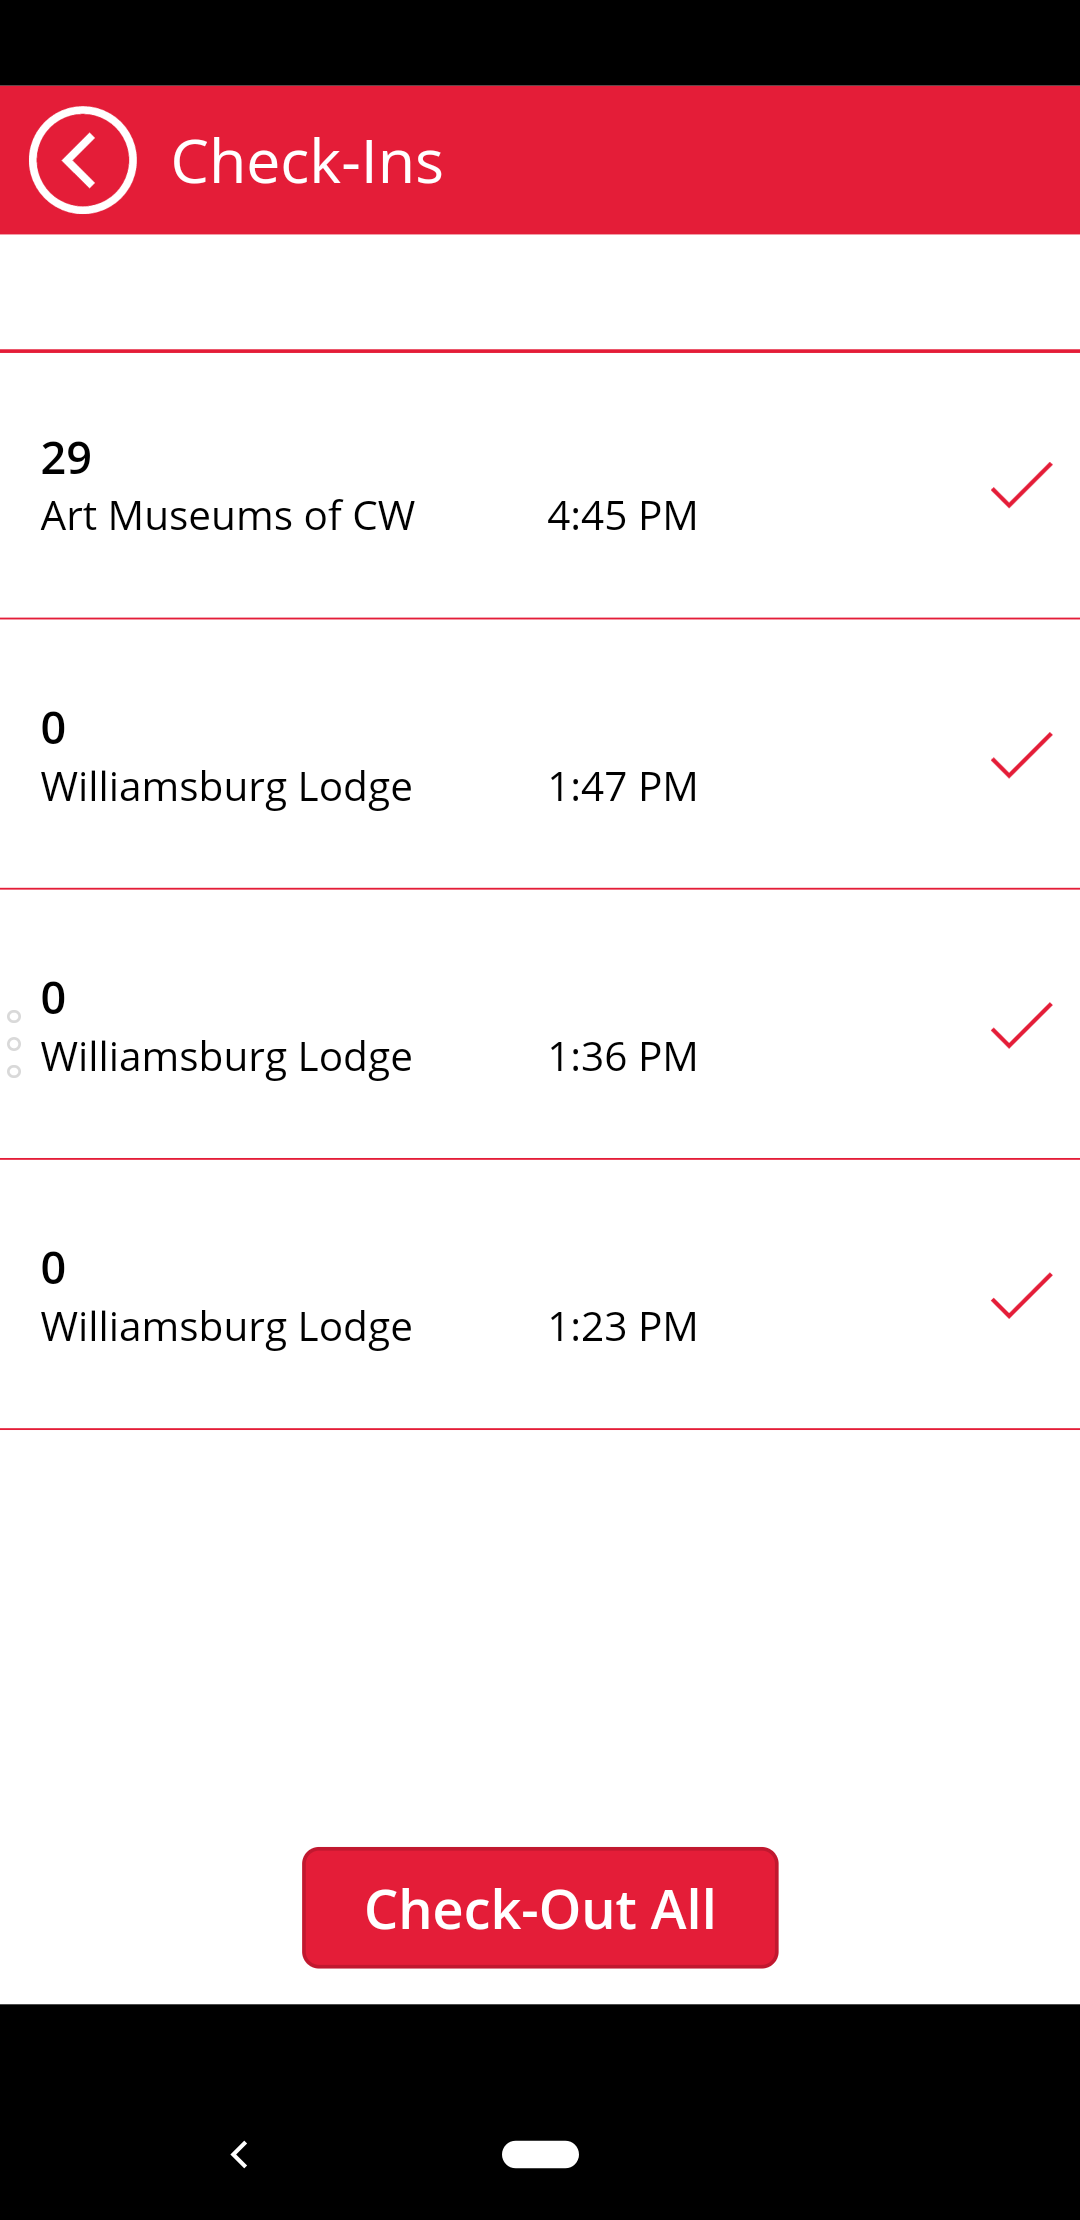
- When the time comes to check-out, scroll down to the bottom of the main screen. Tap the Check Out button.
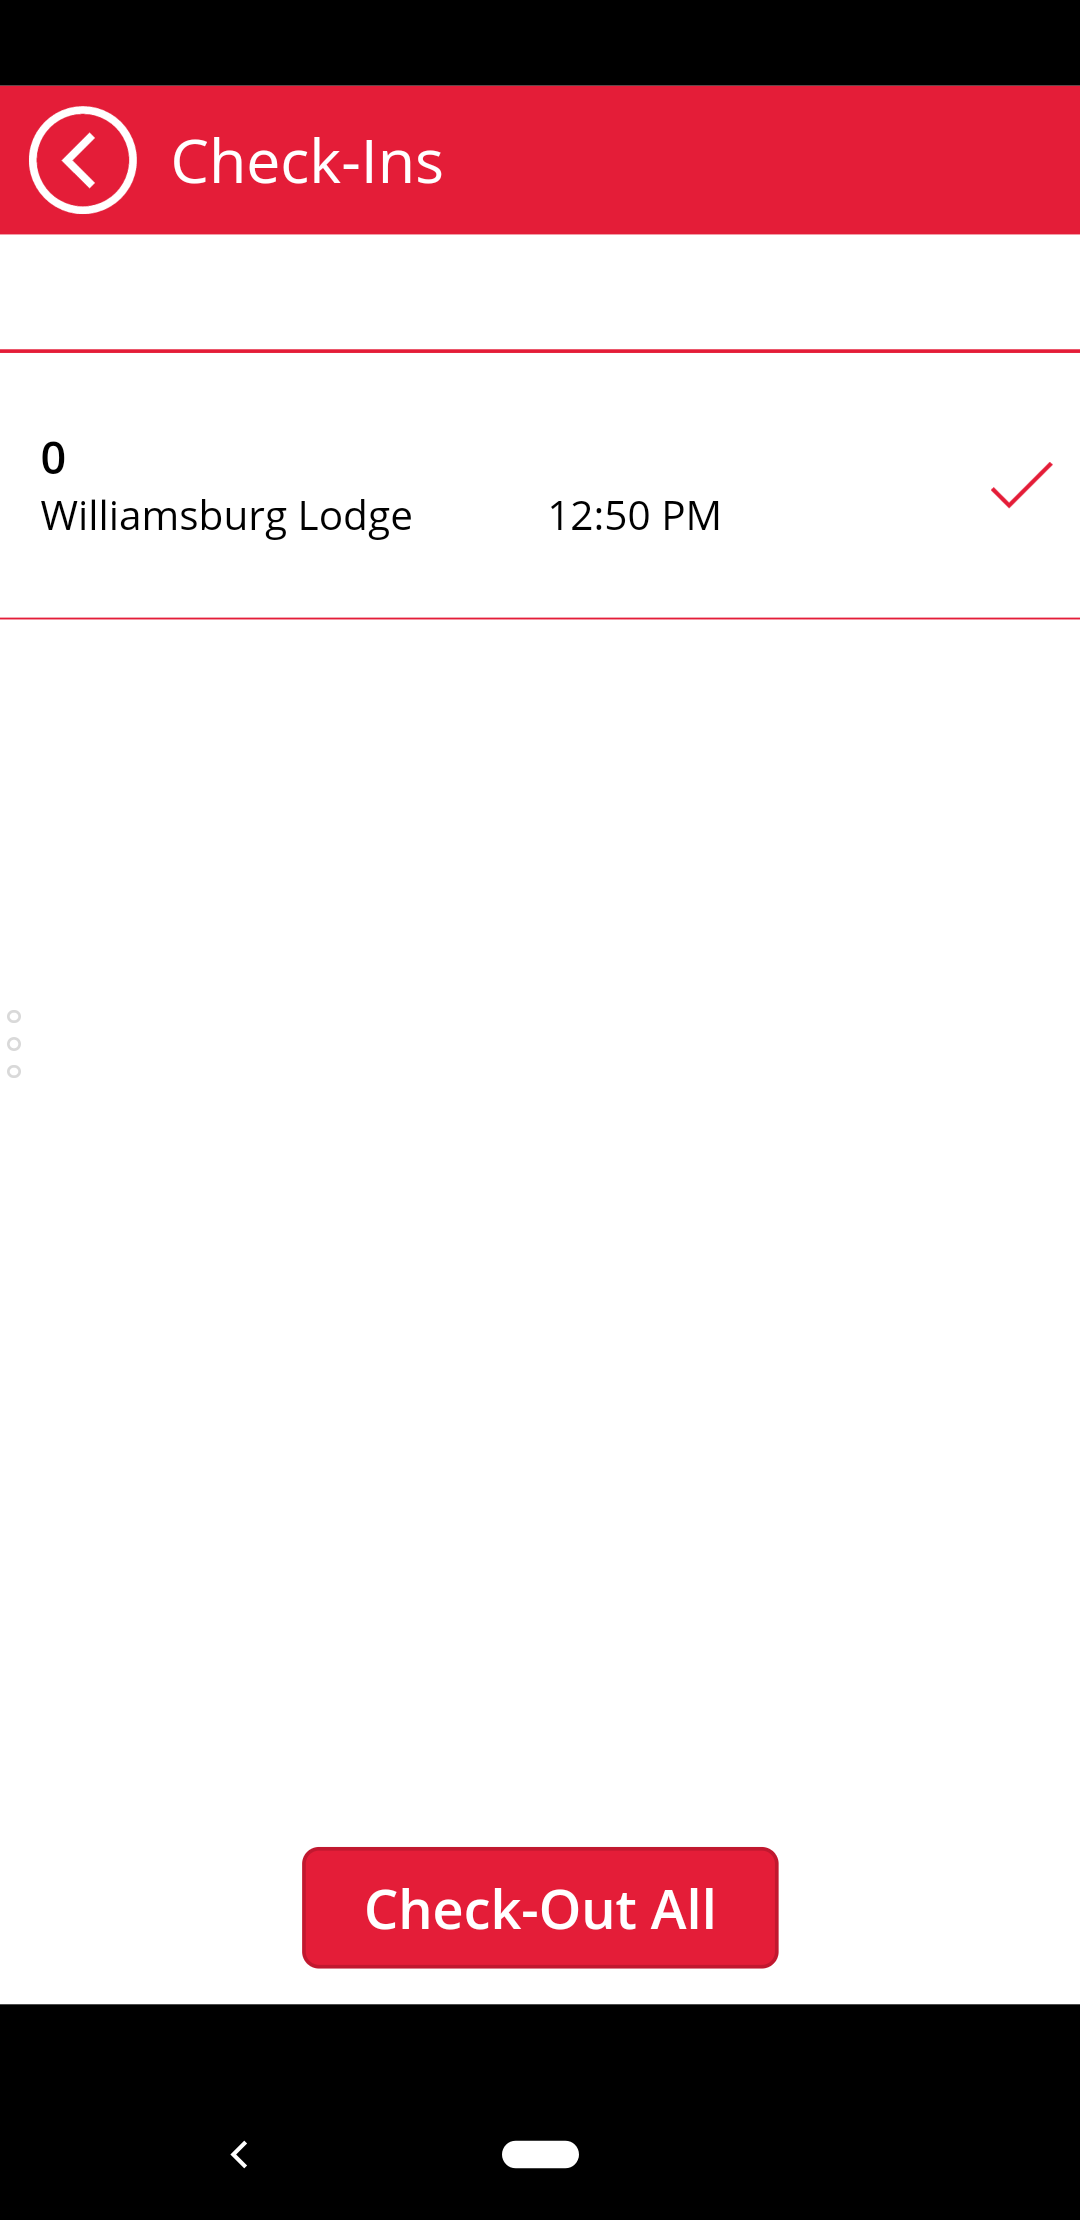
- In the check-out screen, you'll see all your current check-ins and a check mark next to them. If you only want to check out of one location, tap the check mark. If you want to check out of everywhere at once, tap the Check-Out All button.
...
- If you answered yes to one of the four health questions, when you tap the Submit button you will see the following screen.
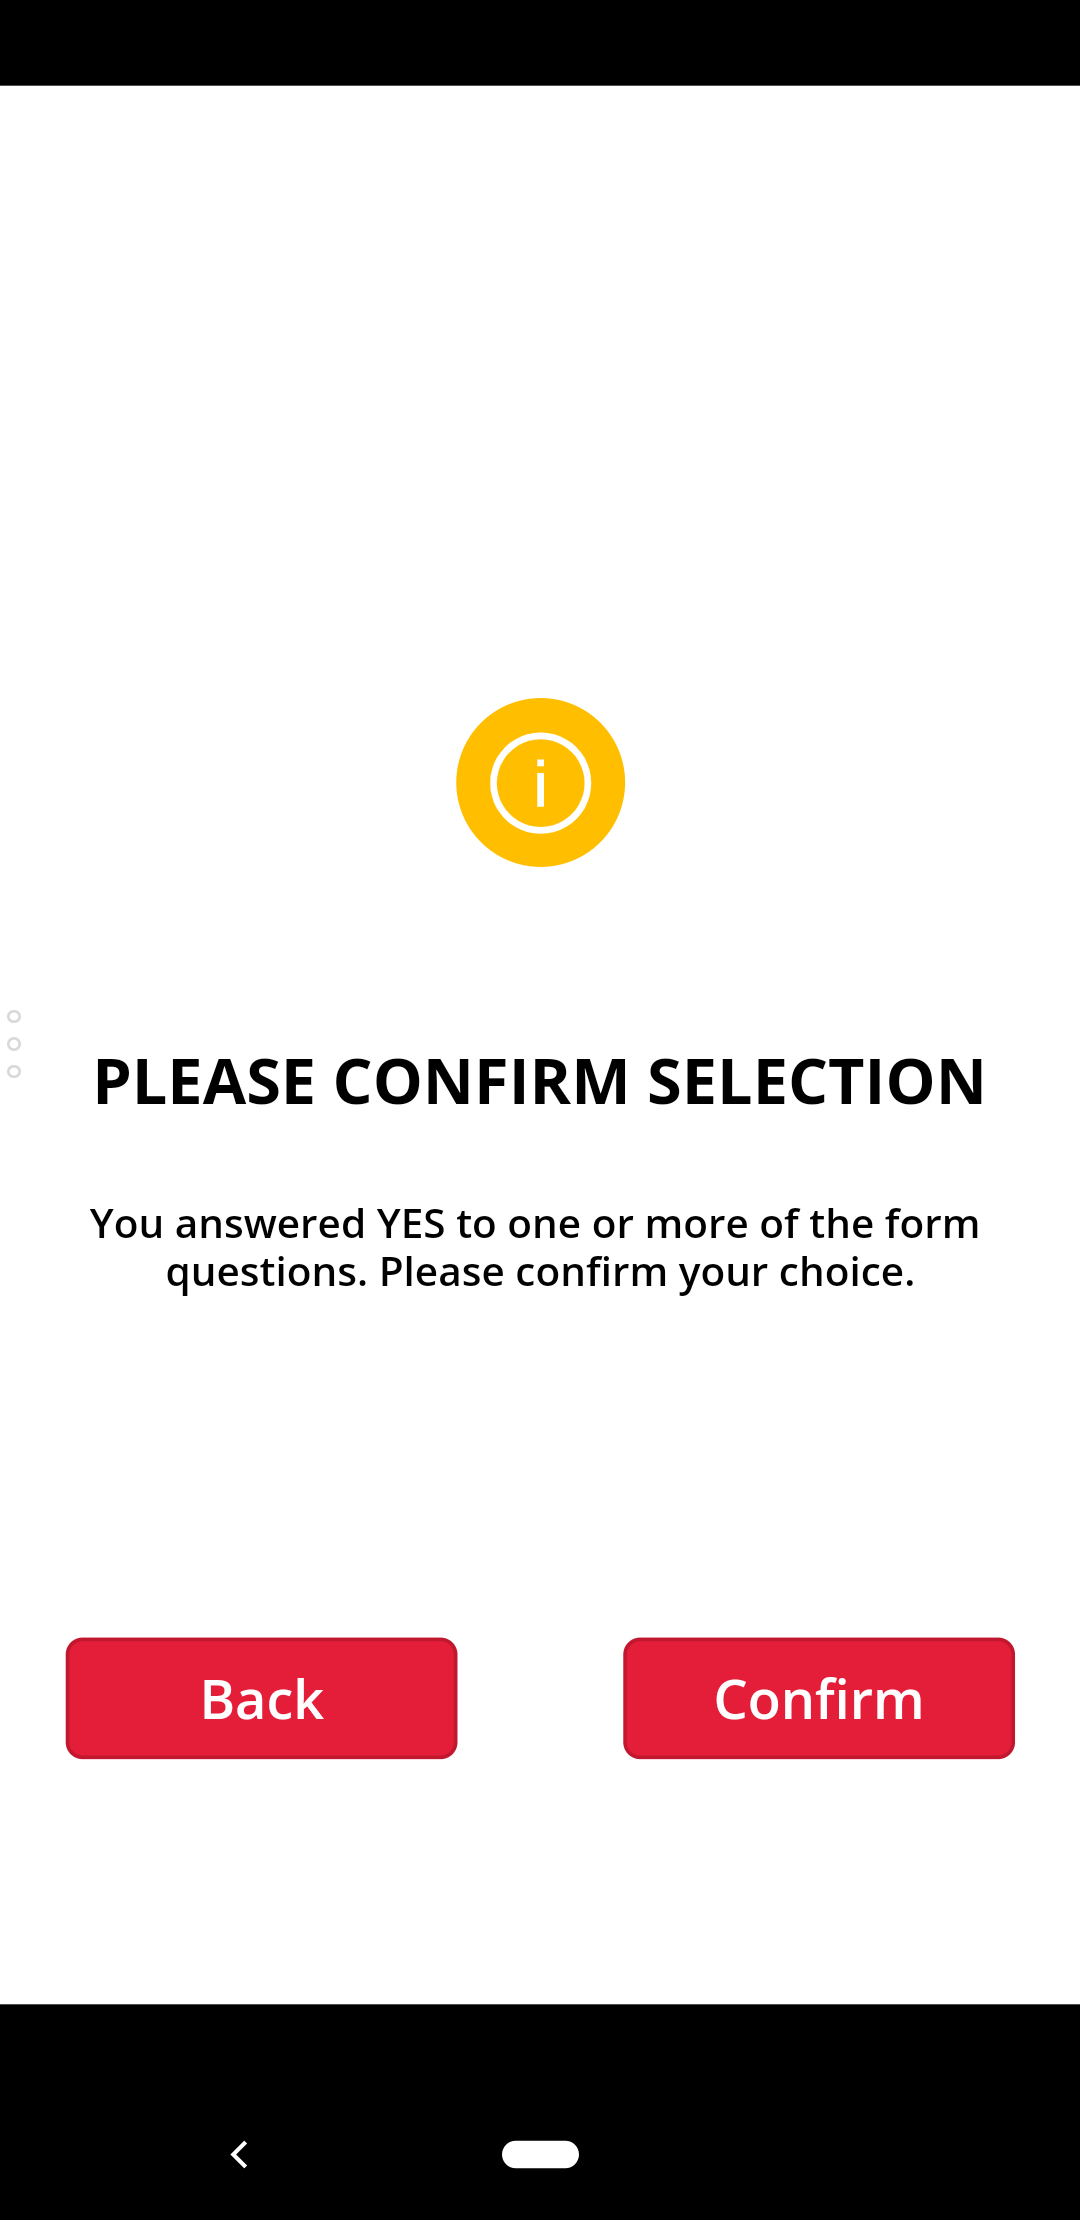
- Tap Confirm to proceed. You'll see the following screen (with no phone number).
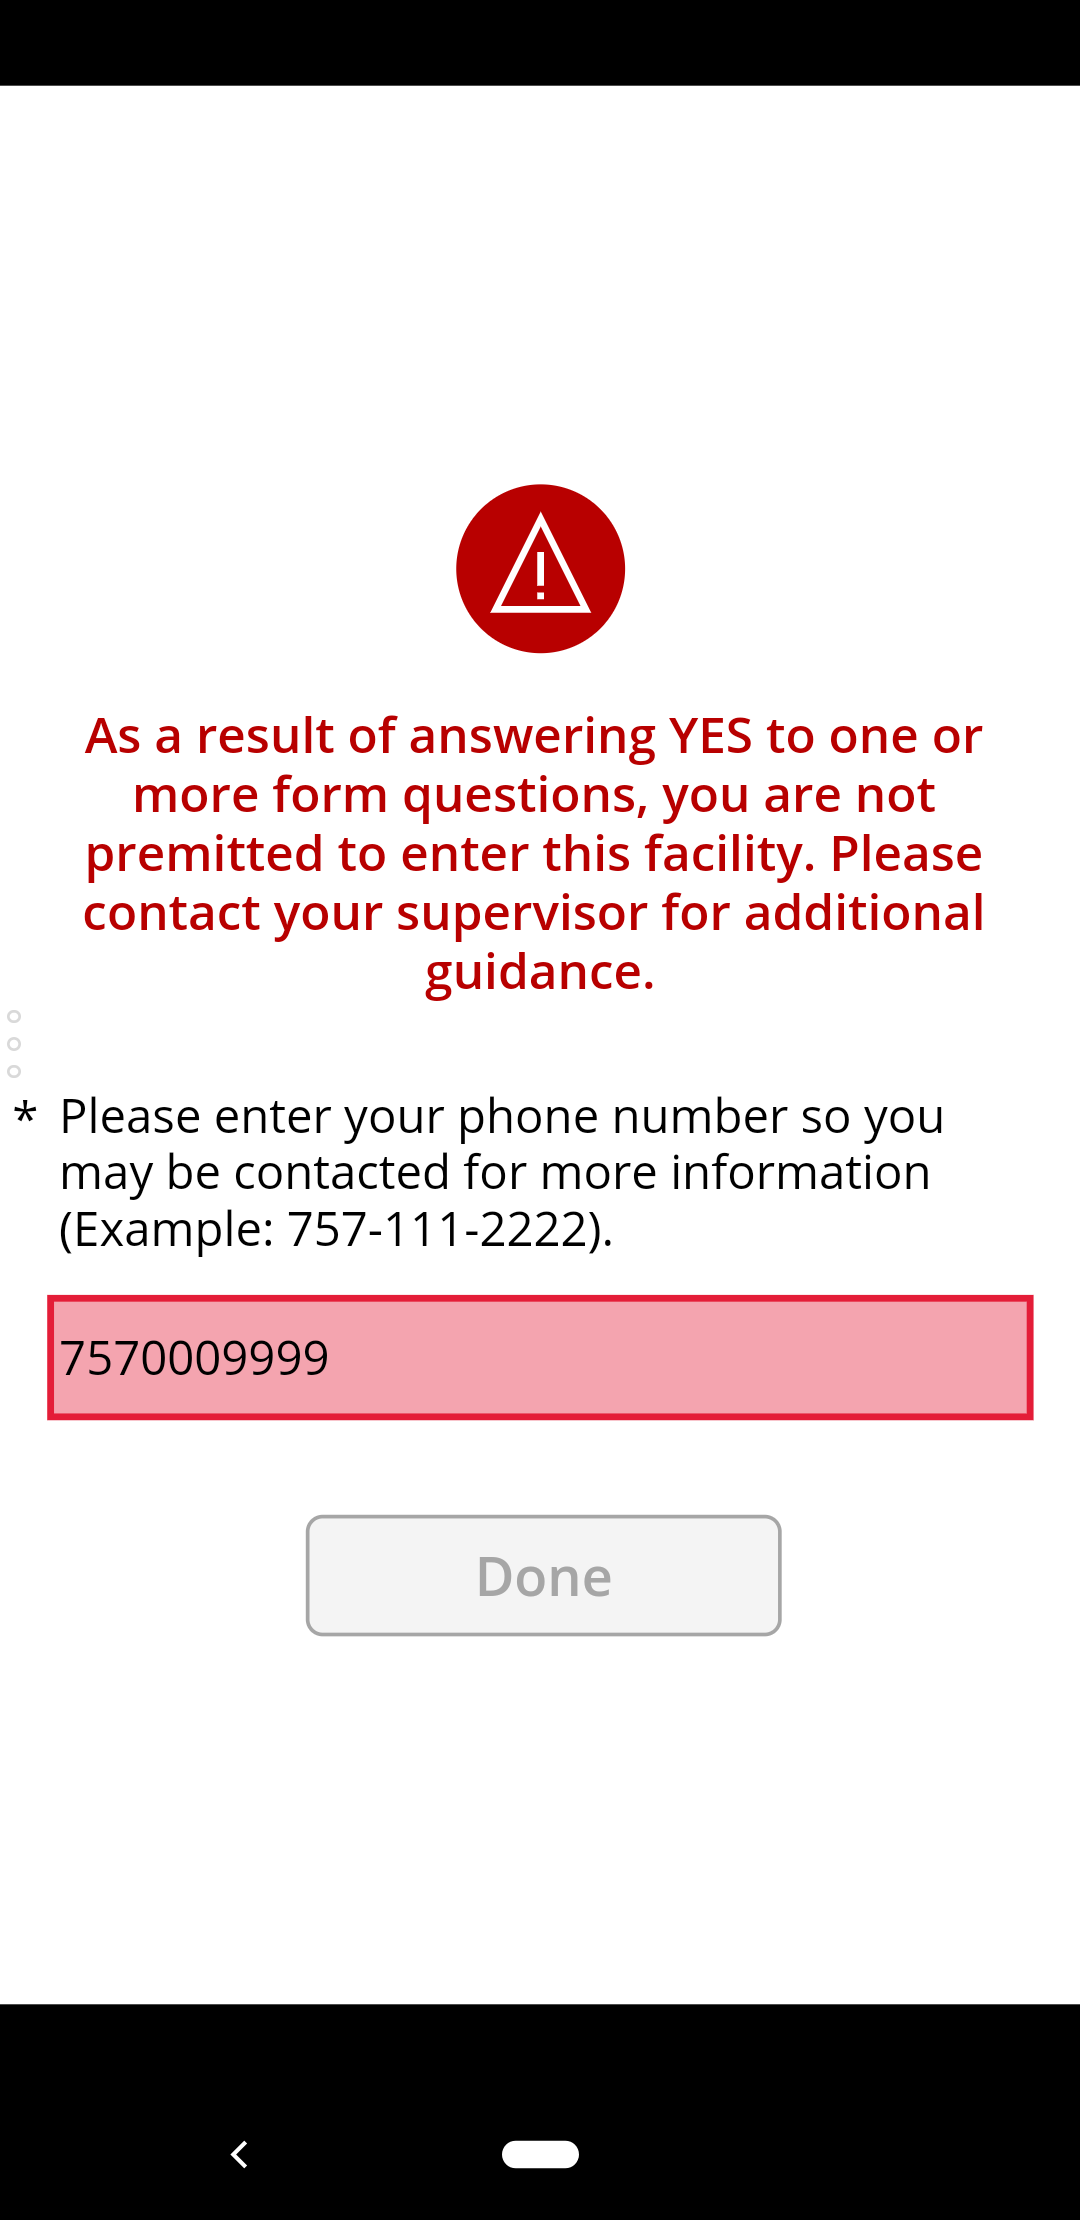
- You will be informed you have been denied entry to the building, and asked to enter your phone number for potential follow up. The Done button will be disabled until a phone number is entered.
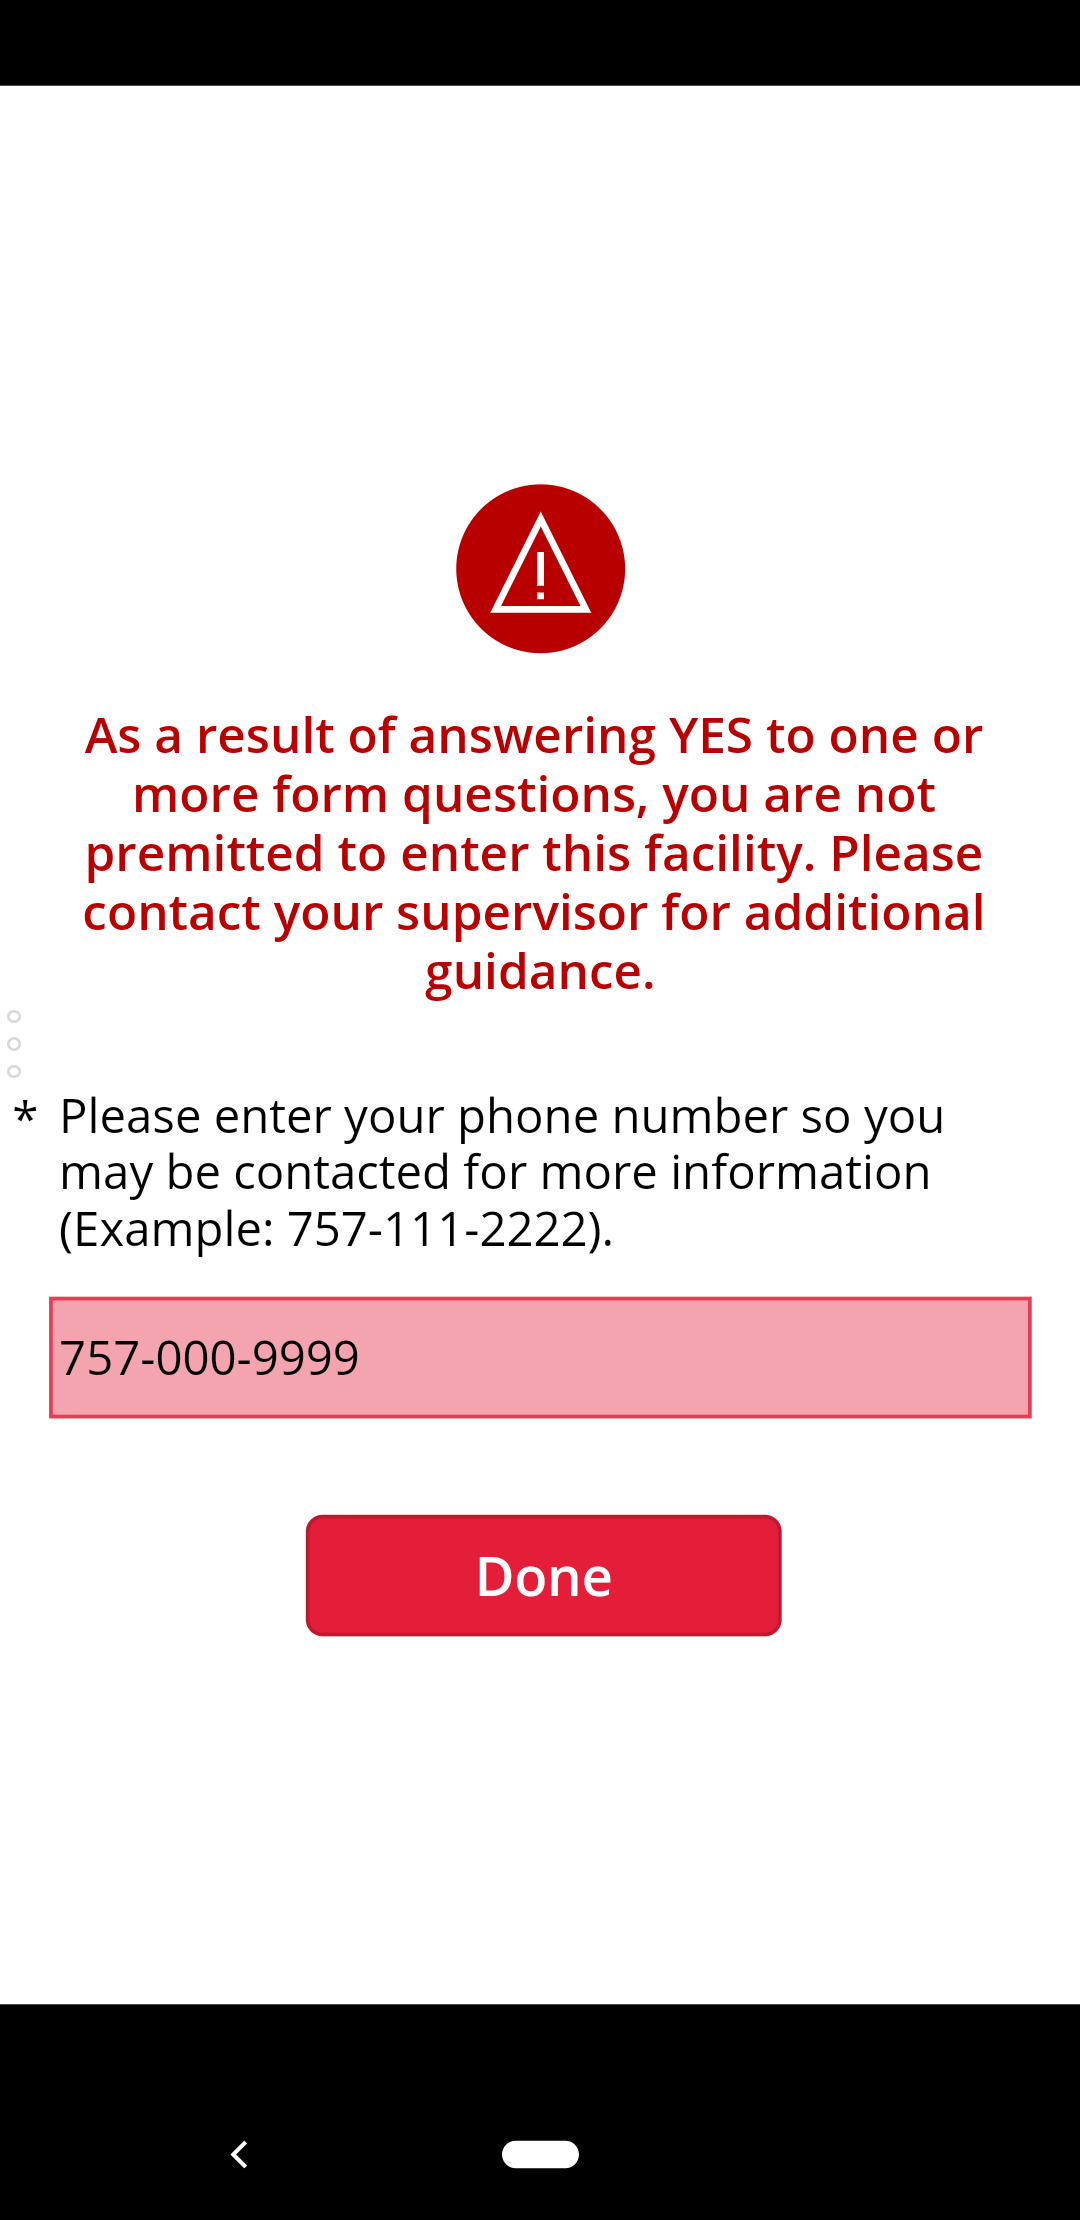
- Enter your phone number in the format 000-111-2222, or only enter the 10 digits without dashes. An error message will be displayed if the number isn't either of those formats.
- Tap the Done button to be returned to the main screen.
Using the app for someone else
- Tap the ClearPass app to start it.
- After the app loads, you'll be at the main screen. To check-in to a location, tap Check In.
- You'll then have to choose a location to check-in to. Tap the drop down to reveal more options. Once the drop down is open, swipe up/down within it to scroll. Select a location then click the Continue button.
- There is an optional drop down to filter by Hospitality/Foundation locations.
- There is an optional drop down to filter by Hospitality/Foundation locations.
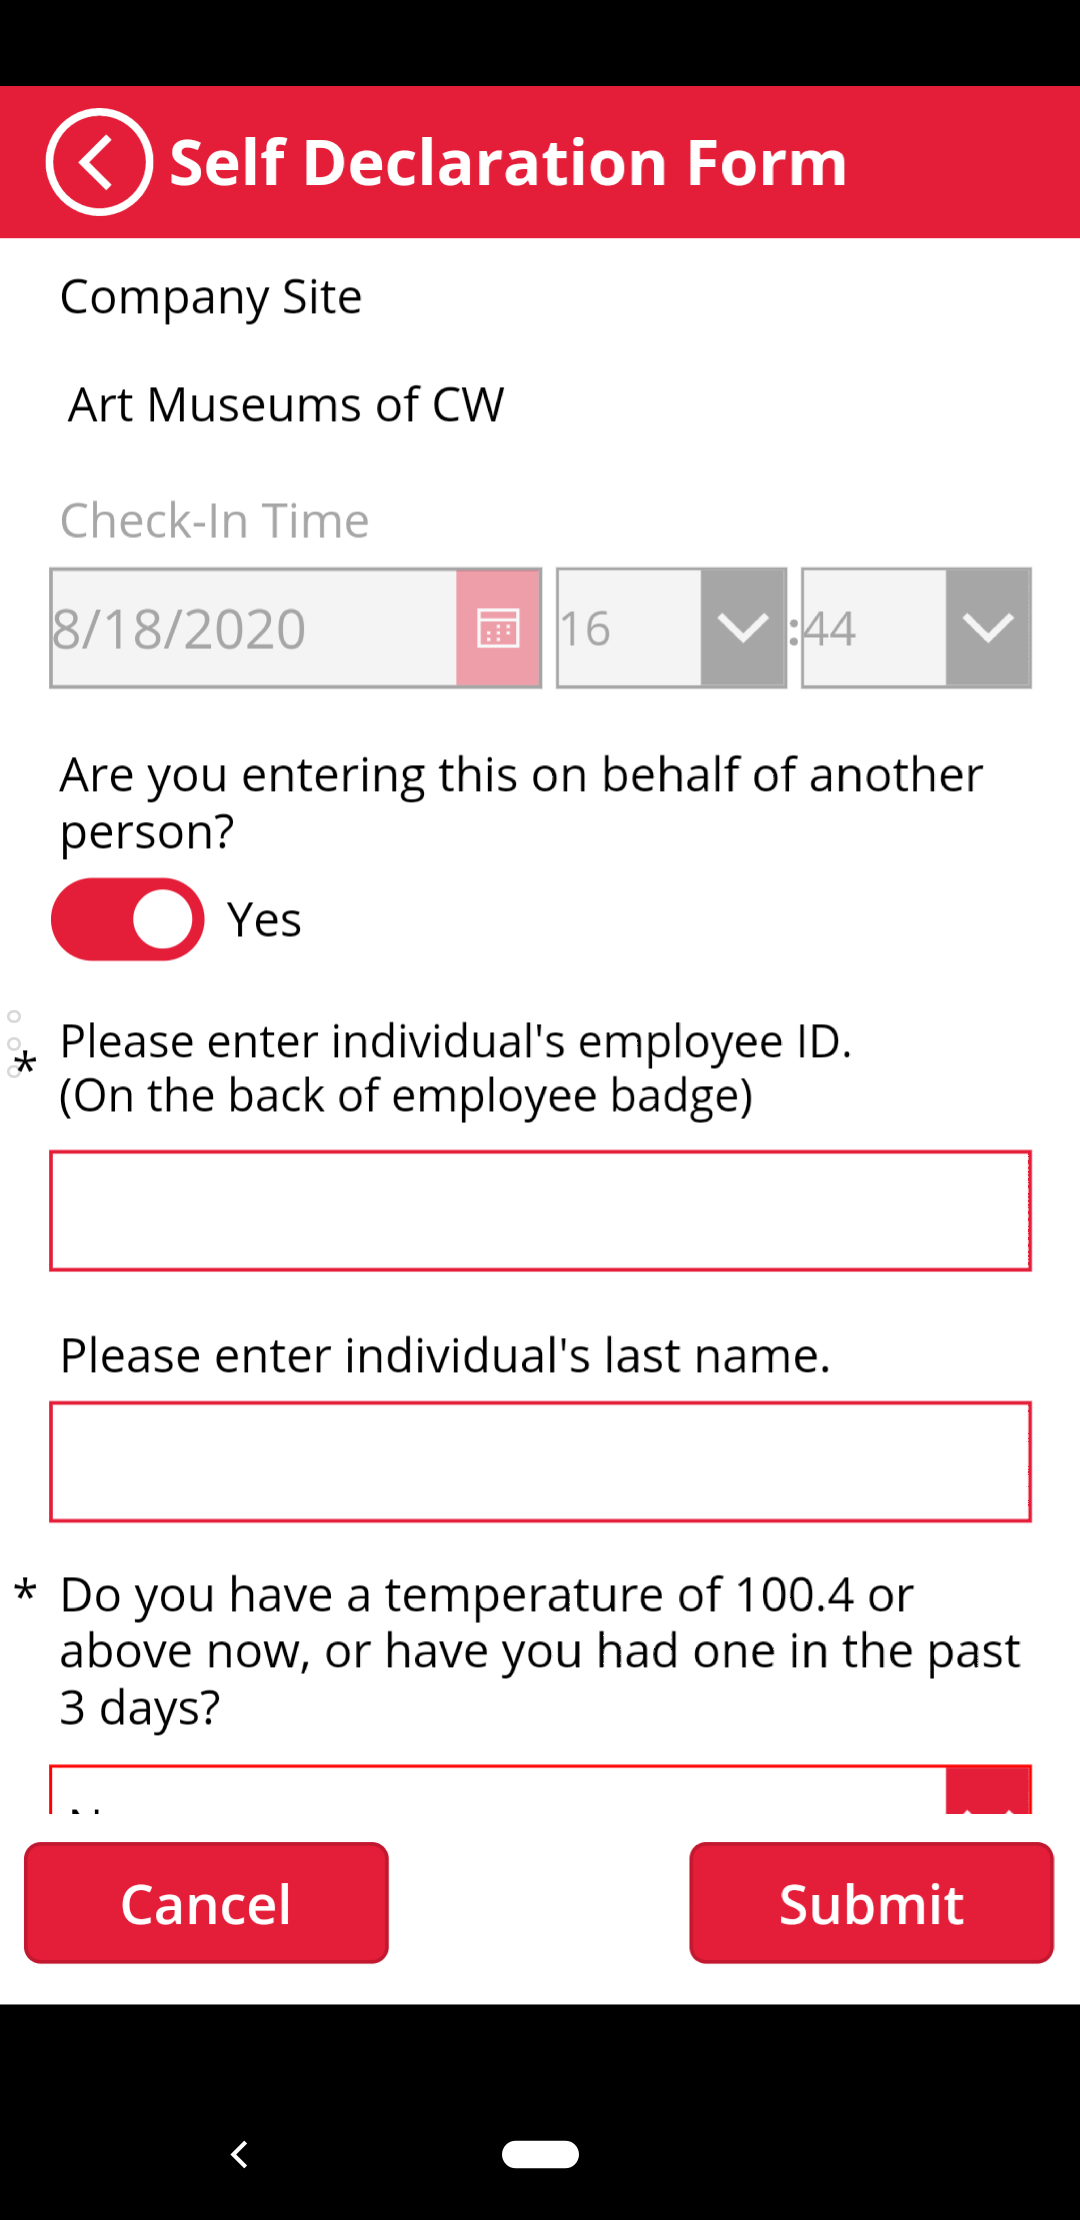
- Now you will be in the Self Declaration Form. We will go through the form assuming you're submitting the form for someone else, and you are answering all the questions with No.
- Flip the are you entering this on behalf of another person? switch.
- Enter the individual's employee ID.
- Enter the individual's last name.
- Read the individual the four yes/no questions and answer them truthfully.
- Tap Submit to complete the form.
- Tap Done to return to the main screen.
- When the time comes to check-out the individual, scroll down to the bottom of the main screen. Tap the Check Out button.
- In the check-out screen, you'll see all your current check-ins as well as check-ins you did for others. If you only want to check out of one location/person, tap the check mark next to the entry. If you want to check out everyone from everywhere at once, tap the Check-Out All button.